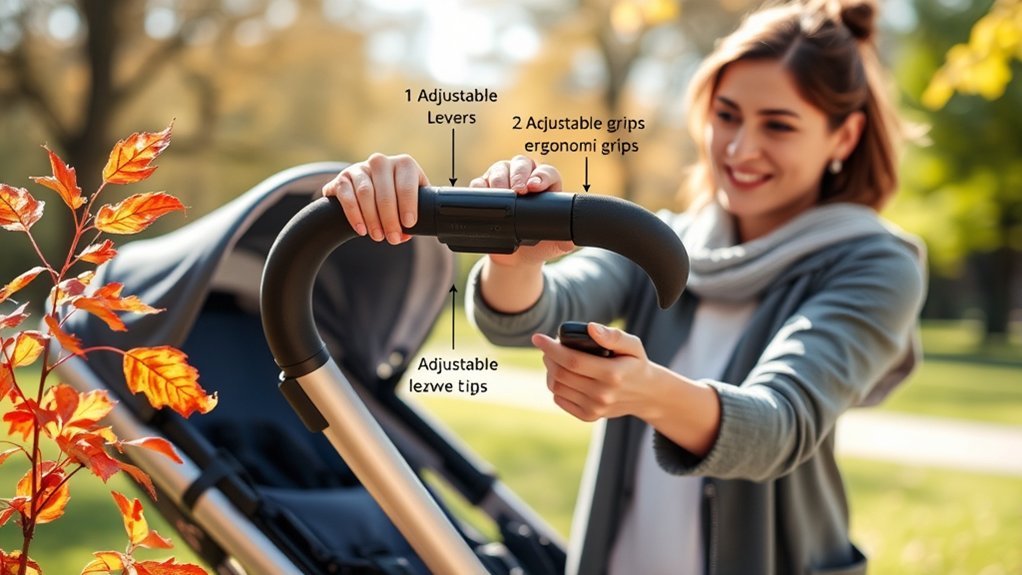
Adjusting your stroller handle height can make pushing more comfortable and help you maintain better control. The exact method depends on the stroller, so identify its buttons, clips, levers, or telescoping release before you begin and follow the instructions in your model’s manual.
Quick Answer
To adjust a stroller handle, stop on a flat surface, apply the brake, locate the model’s buttons, clips, or release lever, and move the handle to a comfortable position. Release the controls, confirm both sides lock, then gently push and pull the handle before use. Follow your stroller manual because mechanisms vary.
Key Takeaways
- Stroller handles do not all adjust the same way. Check your manual before pressing, pulling, rotating, or extending anything.
- Make the adjustment while the stroller is stationary and the parking brake is engaged.
- Choose a height that keeps your shoulders relaxed, elbows slightly bent, and wrists reasonably straight.
- Confirm that every locking point is fully engaged before you begin walking.
- Stop using the stroller if the handle slips, twists, cracks, or fails to lock securely.
At a Glance
| Time Required | About 2 to 5 minutes |
| Difficulty | Easy for a working adjustment mechanism |
| Tools Needed | Usually none; keep the stroller manual and a clean cloth nearby |
| Cost | Usually none unless a damaged part needs manufacturer service or replacement |
Warning: Never force a stiff control or continue using a handle that will not lock. A slipping or partially engaged handle can affect your control of the stroller. Stop using it and contact the manufacturer if normal adjustment does not produce a secure lock.
Understanding the Importance of Handlebar Height
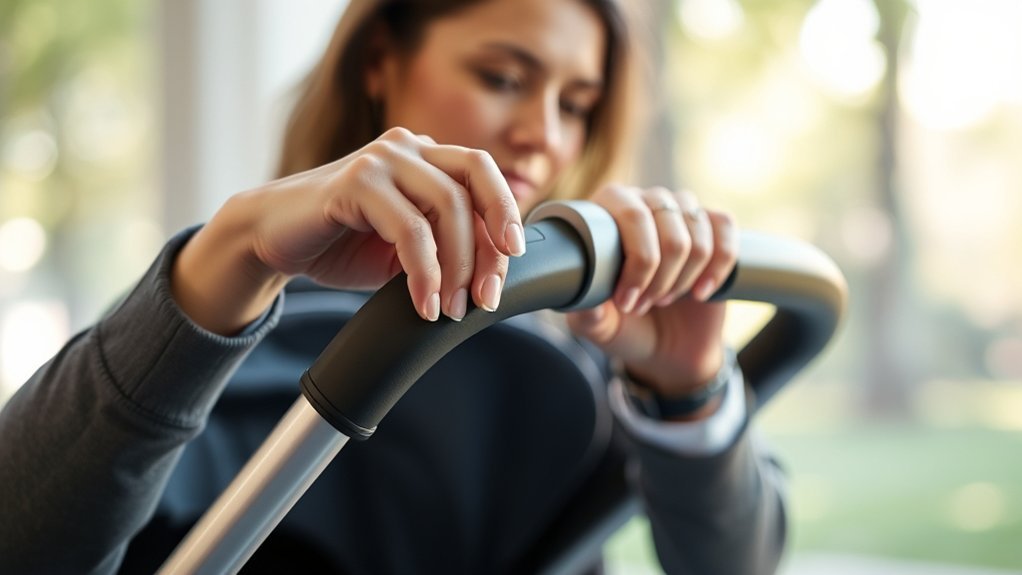
A comfortable handlebar position lets you walk without constantly reaching upward, bending forward, or holding your wrists at an awkward angle. This can make longer walks easier, especially when several caregivers of different heights share the same stroller.
Your shoulders should remain relaxed, and your elbows should have a slight bend. You should be able to steer without leaning your body weight onto the handle or stretching your arms fully forward.
Handle height also affects how easily you can reach the stroller without kicking the rear axle or lower frame. A taller setting may create more walking clearance for some users, but it should not cause your shoulders to rise.
The best handle setting is one that lets you stand naturally, steer confidently, and keep the locking mechanism fully engaged.
Handle height is only one part of safe stroller use. Stability, brakes, restraints, wheels, latches, and folding mechanisms are also covered by the federal Safety Standard for Carriages and Strollers.
Tools You Need for Adjusting the Handlebar
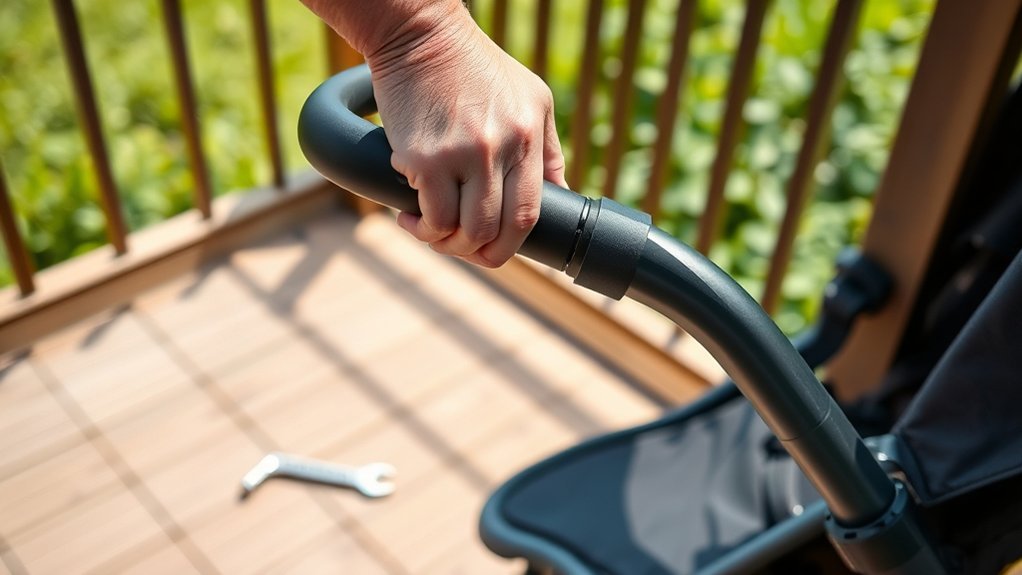
A normally functioning stroller handle usually requires no tools. Before you start, place the stroller on a flat surface, engage the parking brake, and keep the manual available on your phone or in print.
You may also need a clean, dry cloth if dust or dried residue is blocking an exposed button or clip. Do not insert tools into the mechanism, dismantle the handle, or spray lubricant into it unless the manufacturer’s instructions specifically permit that action.
Find the stroller’s brand, model name, and serial or manufacture label before troubleshooting. These details help you locate the correct manual, replacement part, support instructions, and recall information.
Note: The stroller manual takes priority over any general procedure. A control that looks like a height release may instead operate the fold, seat recline, or reversible handle.
Identify Your Stroller Handle Adjustment Type
Examine the handle and manual before trying to move it. Common systems include the following:
- Rotating or pivoting handle: Buttons near both handle joints release the handle so it can rotate between fixed angles.
- Telescoping handle: A central button, side clips, or release collar allows the handle tubes to extend or retract.
- Side-lock handle: Clips, wing-shaped locks, or levers on both sides release the handle tubes.
- Single-control handle: One manufacturer-designed control releases the handle for one-handed adjustment.
- Fixed handle: The stroller has no user-adjustable handle height.
For example, UPPAbaby instructs Ridge users to hold two side buttons while rotating the handle between fixed positions. By contrast, Bugaboo describes one-handed handlebar adjustment on the Fox 5 Renew. These examples show why you should not assume that every stroller uses two levers or the same number of settings.
Step-by-Step Guide to Adjusting Handlebar Height
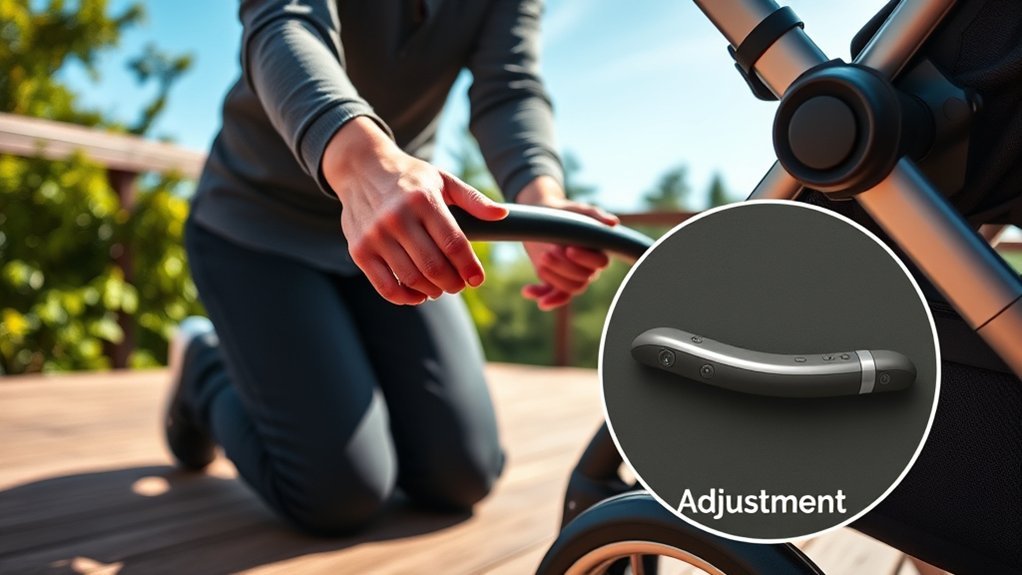
Use these general steps only after confirming how your stroller’s mechanism works:
- Stop on a flat surface. Keep the stroller stationary and engage the parking brake. Adjust the handle before beginning your walk.
- Remove pressure from the handle. Take off unapproved bags, organizers, or other loads that may pull against the mechanism.
- Locate the correct release. Identify the handle-height buttons, clips, collar, or lever using the manual.
- Operate every required control. Press, squeeze, lift, or open the controls exactly as directed. If the design requires two controls, use both.
- Move the handle slowly. Rotate, raise, or lower it without twisting the frame or forcing resistance.
- Release the controls. Allow the handle to settle into a fixed position or locking point. Listen and feel for the engagement described in the manual.
- Test the lock. Hold the stroller steady and gently push, pull, and lift the handle. Check that both sides remain even and do not slide or rotate.
Release the parking brake only after the handle passes the lock test. Walk a few steps in an open, level area before entering a crowded space, slope, curb, or uneven path.
Exploring the Different Handlebar Positions
Your stroller may have two or more fixed positions, a telescoping range, or no adjustment at all. Test only the settings provided by the manufacturer rather than trying to stop the handle between locking points.
Benefits of Adjustable Positions
An adjustable handle can improve the stroller’s fit for different users. Practical benefits include:
- More natural posture: You can reduce excessive reaching or forward bending.
- Relaxed arm position: A suitable height lets your elbows remain slightly bent.
- Better walking clearance: The right setting may help prevent your feet from contacting the axle or lower frame.
- Easier sharing: Different caregivers can return the handle to their preferred settings.
Changing the handle height does not alter the stroller’s approved terrain, load rating, or operating limits. Follow the manual when using the stroller on hills, rough surfaces, or while jogging.
Testing Each Grip Level
Begin with the setting closest to your relaxed wrist height. Stand upright, place both hands on the handle, and take 20 to 30 steps on a flat, obstacle-free surface.
Notice whether you raise your shoulders, straighten your elbows completely, bend your wrists sharply, or lean forward. Move to another approved position if the first setting causes discomfort or makes steering feel awkward.
Do not judge the setting by height alone. Your arm length, walking stride, handle shape, footwear, and the stroller’s rear-frame design can all affect the fit.
Optimal Height for Maneuverability
A suitable position should let you steer through a gentle turn without lifting your shoulders or leaning heavily onto the handle. Keep your grip light enough to move your hands, but firm enough to maintain control.
If the handle is too low, you may hunch forward or shorten your stride. If it is too high, your shoulders may rise and your wrists may bend downward. Adjust one setting at a time and repeat the lock test after every change.
How to Find Your Ideal Handlebar Height
Stand close enough to the stroller that you do not need to reach. Start with the handle near the height of your relaxed wrists, then use the stroller’s available settings to refine the fit.
Check these five signs:
- Your head and chest remain upright.
- Your shoulders feel relaxed rather than raised.
- Your elbows remain slightly bent.
- Your wrists stay reasonably straight.
- Your normal stride does not cause your feet to strike the stroller frame.
No single measurement works for every user or stroller. Choose the closest manufacturer-provided setting rather than modifying the frame or holding an adjustable handle between lock positions.
Tips for Ensuring User Comfort
Comfort depends on both the handle setting and how you push. Keep your body close enough to the stroller to avoid reaching, and change hand position occasionally during a long walk when it is safe to do so.
Optimal Handlebar Height
Use posture as your guide instead of trying to match a universal number. A suitable setting should let you:
- Walk upright without bending at the waist.
- Keep your shoulders down and relaxed.
- Maintain a slight bend in your elbows.
- Steer without placing most of your body weight on the handle.
If no available position feels comfortable, confirm that the stroller is assembled correctly and that the handle has reached every intended setting. Do not add a homemade extension or unapproved attachment.
Test Grip Positions
When several people use the stroller, each caregiver should perform a brief fit and lock check. Do not assume that the previous user’s setting is secure or comfortable for you.
Some stroller handles include approved grip areas, hand brakes, wrist straps, or controls that affect where you should place your hands. Keep those controls reachable and follow the model’s operating instructions.
Pro Tip: When caregivers share a stroller, note each person’s preferred locking position or extension mark. You can return to that setting quickly, but you should still test the lock every time.
Safety Checks Before Using the Stroller
Complete a quick safety check after adjusting the handle and before each outing:
- Check the handle lock: Confirm that every required button, clip, or lever has returned to its locked position.
- Compare both sides: The handle should not sit higher on one side unless the manufacturer specifically designed it that way.
- Test for movement: Gently push, pull, and lift the handle while the brake is engaged.
- Inspect the frame: Look for cracks, bent tubes, missing fasteners, corrosion, damaged plastic, or loose joints.
- Remove unsafe loads: Do not hang heavy bags or unapproved accessories from the handle. Added weight can affect stroller stability.
- Check the brake and restraint: Confirm that the brake works and secure the child with the stroller’s restraint system before moving.
- Check for recalls: Search the CPSC stroller recall list using the brand and model, especially when buying or receiving a used stroller.
The CPSC identifies stability, brakes, restraint systems, latches, folding mechanisms, structural integrity, wheels, and adjustable grab bars among the safety areas covered by stroller requirements.
Common Mistakes to Avoid When Adjusting
Most adjustment problems happen when a control is misidentified, only one side is released, the handle stops between locking points, or the user skips the final stability test.
Skipping Height Checks
Avoid these common fit and adjustment mistakes:
- Assuming every stroller has the same mechanism: Read the manual before operating unfamiliar controls.
- Choosing a setting by appearance alone: Test your posture and walking clearance.
- Leaving one side partly engaged: Check both sides after every adjustment.
- Adjusting while walking: Stop, engage the brake, and make the change while stationary.
- Forcing extra height: Never pull beyond the highest mark or approved locking position.
- Skipping checks after another caregiver uses it: Confirm the setting before taking control of the stroller.
Ignoring Lock Mechanism
A handle is not ready for use until every locking point is fully engaged. Use this table to respond to common warning signs:
| Warning Sign | What to Do |
|---|---|
| The handle slides or rotates after release | Stop using the stroller and repeat the manual’s locking procedure. Contact the manufacturer if it still moves. |
| One side sits higher or extends farther | Return both sides to the starting position and adjust them evenly according to the manual. |
| A button or clip does not return | Do not walk with the stroller. Check for visible debris and seek manufacturer support. |
| The handle or joint is cracked, bent, or loose | Stop using the stroller until the manufacturer or an authorized service provider resolves the damage. |
Using the Wrong Adjustment Method
Do not assume that pulling harder will release a stiff handle. You may be operating the fold release, missing a second safety control, pulling against a loaded handle, or trying to move beyond its adjustment range.
Avoid improvised repairs such as drilling new holes, taping a joint, adding an unapproved handle extension, or holding a release open. These changes can interfere with the stroller’s locking system and structural design.
Troubleshooting Handlebar Adjustment Problems
Stuck Buttons, Clips, or Levers
Engage the brake and remove pressure from the handle. Wipe visible dirt from the outside of the control with a clean cloth. Operate the control gently while keeping the handle aligned with its normal movement path.
If it remains stuck, check the manual for approved cleaning or maintenance instructions. Do not spray oil, silicone, or another lubricant into the mechanism unless the manufacturer identifies that product and location as safe.
One Side Will Not Lock
Return the handle to its lowest or starting position if the manual allows it. Release and adjust both sides together, making sure neither tube is twisted or extended farther than the other.
Stop using the stroller if one side still fails to engage. A one-sided lock can create movement or uneven loading at the handle joint.
The Handle Slips After Locking
Remove bags and accessories from the handle and repeat the adjustment procedure. Check for worn clips, cracked plastic, a bent tube, missing hardware, or a release that does not return fully.
Do not carry on using the stroller because the handle appears secure under light pressure. Contact the manufacturer with the model and serial number and describe how the handle moves.
The Stroller Has No Adjustable Handle
A fixed handle cannot safely be extended through improvised parts. Keep your body close to the stroller, use a relaxed grip, and avoid leaning onto the handle.
If the fixed height causes persistent discomfort, check whether the manufacturer offers an approved handle accessory. Otherwise, a stroller designed with a suitable adjustable range may be a better fit.
Maintaining Your Stroller’s Handlebar
Regular inspection helps you find wear before it becomes a larger problem. Include these steps in your stroller maintenance routine:
- Inspect the handle and joints: Look for cracks, looseness, bending, corrosion, torn grips, and missing hardware.
- Clean external surfaces: Use the cleaning method and products listed in the manual. Dry the handle before storage.
- Test the adjustment controls: Confirm that buttons, clips, or levers move freely and return to their locked positions.
- Keep loads within approved limits: Use only manufacturer-approved organizers and accessories.
- Store the stroller in a dry location: Avoid prolonged exposure to moisture, extreme heat, or conditions that may damage plastic and metal parts.
- Use approved replacement parts: Order clips, grips, joints, or other components through the manufacturer or an authorized source.
Do not continue operating a damaged handle while waiting to see whether the problem becomes worse. Handle and locking failures are safety concerns, not merely comfort issues.
Enhancing Your Strolling Experience With Proper Adjustments
A suitable handle setting should feel natural rather than forcing you to change your posture. Once you find a comfortable position, note its mark or locking point so you can return to it after another caregiver uses the stroller.
Recheck the handle whenever you unfold the stroller, change its configuration, install an accessory, retrieve it from storage, or notice unexpected movement. These checks take only a few moments and help confirm that the mechanism is ready for use.
Keep in mind that handle height cannot correct damaged wheels, poor alignment, an overloaded basket, an ineffective brake, or a loose frame. Address those problems separately according to the manufacturer’s instructions.
Frequently Asked Questions
Can I adjust the handlebar height while the stroller is moving?
No. Stop on a flat surface, engage the parking brake, and adjust the handle while the stroller is stationary. Follow any additional instructions in your manual, including directions to remove the child before certain adjustments.
What should I do if the handlebar levers or buttons are stuck?
Do not force them. Remove pressure from the handle, wipe away visible surface debris, and check the manual for approved cleaning instructions. Do not apply lubricant unless the manufacturer specifically recommends it. Contact the manufacturer if the control remains stuck.
Is there a weight limit for adjusting the stroller handle?
There is no universal handle-adjustment weight limit that applies to every stroller. Check your manual for occupant, basket, accessory, and handle-loading limits. Remove bags or other pressure from the handle before adjusting it.
How often should I check the handlebar adjustment?
Check it after every adjustment and whenever another caregiver has used the stroller. Include the handle and locking controls in your regular pre-outing inspection, especially after folding, transport, storage, or an impact.
Can I adjust the stroller handle height with one hand?
Only when the manufacturer designed the stroller for one-handed adjustment. Some models use a single control, while others require two buttons or clips to be operated together. Never hold one safety control open or bypass a two-control system.
Why does one side of the handle sit higher than the other?
One side may have stopped between positions or failed to lock. Return the handle to its starting position and readjust both sides evenly. Stop using the stroller and contact the manufacturer if the handle remains uneven.
What should I do if the handle moves after it clicks into place?
Do not use the stroller. A click alone does not prove that every locking point engaged correctly. Repeat the manual’s adjustment procedure and test both sides. Contact the manufacturer if the handle still slides, rotates, or feels loose.
Can I add an extension to a non-adjustable stroller handle?
Use an extension only if the stroller manufacturer approves it for your exact model. Homemade or universal extensions may affect steering, folding, stability, and the load placed on the handle or frame.
Conclusion
To adjust your stroller handle height safely, identify the correct release mechanism, stop the stroller on a flat surface, engage the brake, and move the handle only through its approved range. Choose a position that keeps your shoulders relaxed, elbows slightly bent, and wrists comfortable.
Always finish with a firm lock test. If the handle slips, sits unevenly, shows damage, or refuses to lock, stop using the stroller and contact the manufacturer. A comfortable setting improves the fit, but a secure locking mechanism is the essential safety requirement.
Sources
- Electronic Code of Federal Regulations: 16 CFR Part 1227 — current U.S. safety standard for carriages and strollers.
- U.S. Consumer Product Safety Commission: Carriages and Strollers Guidance — safety areas involving stability, brakes, restraints, latches, wheels, and adjustable grab bars.
- CPSC Stroller Recalls — recall notices and corrective actions for stroller products.
- UPPAbaby Handlebar Height Instructions — manufacturer example of a two-button rotating handle adjustment.
- Bugaboo Fox 5 Renew Product Guidance — manufacturer example of a stroller designed for one-handed handlebar adjustment.
- Human Body Mechanics of Pushing and Pulling — research review covering factors related to musculoskeletal strain during pushing tasks.