
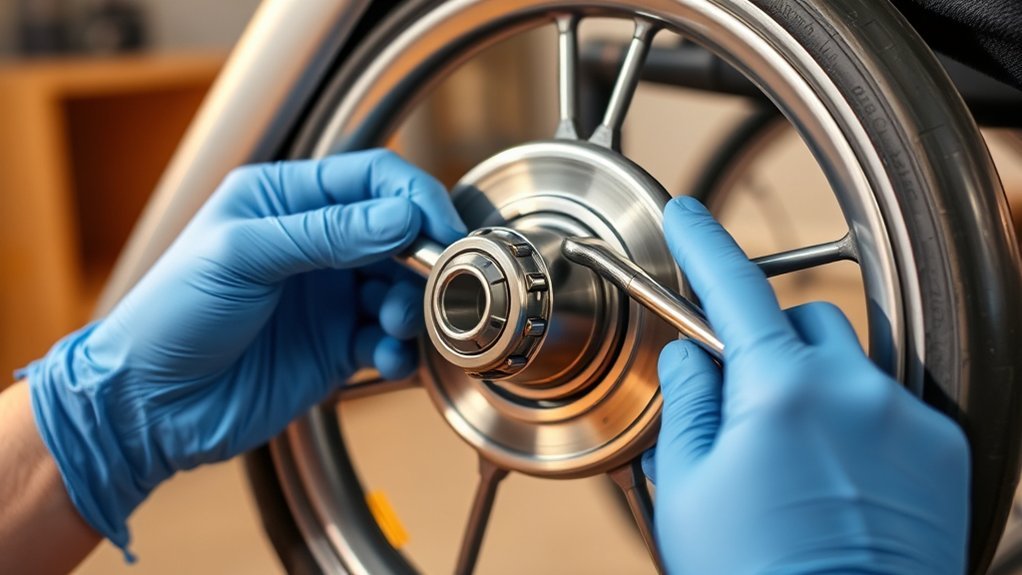
Worn stroller wheel bearings can make a smooth stroller feel rough, noisy, or difficult to steer. You may be able to replace them at home, but only when the wheel has a serviceable bearing assembly and the manufacturer permits the repair. The correct parts and removal method depend on your stroller model.
Quick Answer
Replace stroller wheel bearings only when the manufacturer confirms the wheel is serviceable. Remove the wheel using the model’s manual, document every spacer and fastener, extract the bearing without damaging the hub, install an exact-match bearing, reassemble it, and test the stroller empty before carrying a child.
Key Takeaways
- Check the stroller manual, model number, safety alerts, and replacement-parts guidance before opening a wheel.
- Confirm that the noise or wobble comes from the bearing rather than the tire, brake, axle, swivel, or wheel latch.
- Use an OEM bearing or an exact replacement with the same code, bore, outside diameter, width, and seal or shield arrangement.
- Use a puller, drift, or press tool instead of forcing the bearing out with an unprotected screwdriver.
- Do not use the stroller until the repaired wheel passes spin, side-play, pull, brake, and empty rolling tests.
At a Glance
| Time Required | About 30 to 60 minutes per serviceable wheel, depending on corrosion, access, and fastener type |
| Difficulty | Moderate; unsuitable for sealed, damaged, recalled, or manufacturer-only wheel assemblies |
| Tools Needed | Model manual, correct driver or socket, pliers, caliper, parts tray, bearing puller or drift, and a suitable press tool |
| Cost | Varies by bearing, retaining hardware, and whether the manufacturer requires a complete wheel assembly |
Confirm That the Stroller Wheel Is Serviceable
Find the stroller’s model number, serial number, and manufacture date before removing anything. These details are usually printed on a label attached to the frame, basket support, rear axle area, or underside of the seat.
Look up the correct manual through the manufacturer’s support page. Manufacturers such as UPPAbaby publish separate manuals for individual stroller models, which shows why one disassembly method cannot safely cover every wheel.
Also search the CPSC recall database using the brand and model. Do not attempt an ordinary repair if the wheel, axle, brake, or frame is covered by a safety recall. Follow the recall remedy instead.
Warning: Stop if the manual describes the wheel as a sealed assembly, prohibits disassembly, requires an authorized technician, or provides only a complete replacement wheel. Forcing open a non-serviceable wheel can create a detachment or steering hazard.
How to Tell Whether the Bearing Is the Problem
A noisy or difficult wheel does not always have a failed bearing. Hair around the axle, a rubbing brake, a damaged tire, a loose wheel latch, a bent axle, or dirt inside a swivel joint can produce similar symptoms.
- Lift the wheel: With the stroller empty and stable, raise the problem wheel clear of the floor.
- Spin it slowly: Listen for grinding and feel for rough spots or sudden resistance.
- Check side play: Hold the wheel at opposite edges and gently rock it sideways. Excess movement may come from the bearing, axle, hub, or retaining hardware.
- Compare the matching wheel: A healthy wheel on the other side provides a useful reference for sound, resistance, and play.
- Inspect nearby parts: Check the tire, brake, swivel fork, axle, release button, and wheel housing.
A bearing is a likely cause when the roughness remains after you clean the axle area, the bearing feels gritty when turned by hand, or visible rust and play come directly from the bearing. Replace the whole wheel or seek service when the hub, axle seat, release mechanism, or retaining parts are damaged.
Tools Needed for Stroller Wheel Bearing Replacement

Gather the tools listed in your stroller manual before starting. Depending on the design, you may need a Phillips, Torx, or hex driver, a socket, needle nose pliers, snap-ring pliers, a soft-faced mallet, and a clean parts tray.
A digital caliper helps confirm the bearing’s inner diameter, outside diameter, and width. For removal, use a small bearing puller, blind-hole puller, or a suitable drift when the back of the bearing is accessible. For installation, use a hand press, bench vise, or press tool with a socket that contacts the correct bearing race.
Keep eye protection, work gloves, clean cloths, cotton swabs, and manufacturer-approved grease or oil nearby. A flathead screwdriver may help lift a decorative cap if the manual shows that method, but it should not be your main bearing-extraction tool.
Preparing the Stroller Wheel
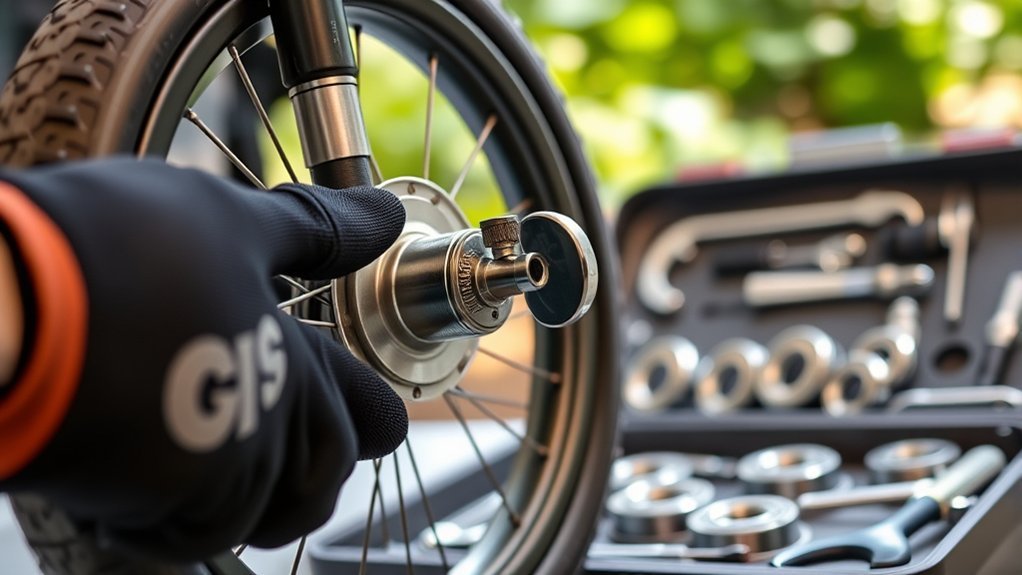
Remove the child and all cargo from the stroller. Place the stroller on a flat surface, engage the parking brake, and support the frame so it cannot tip when you remove the wheel.
Follow the manual’s wheel-removal instructions. Some wheels release with a button, while others use a nut, bolt, clip, push nut, retaining ring, or several recessed screws. Do not assume your wheel has the four-screw layout found on some stroller models.
Take a clear photo before removing each layer. Arrange caps, washers, spacers, springs, clips, screws, and axle parts in removal order. Mark the left and right wheel parts when they are not identical.
| Step | Description |
|---|---|
| 1. Stabilize | Empty the stroller, engage the brake, and support the frame securely. |
| 2. Identify | Confirm the wheel attachment and retaining system from the model manual. |
| 3. Document | Photograph each layer and place small parts in removal order. |
| 4. Clean | Remove surface dirt and hair before opening the hub. |
Removing the Axle
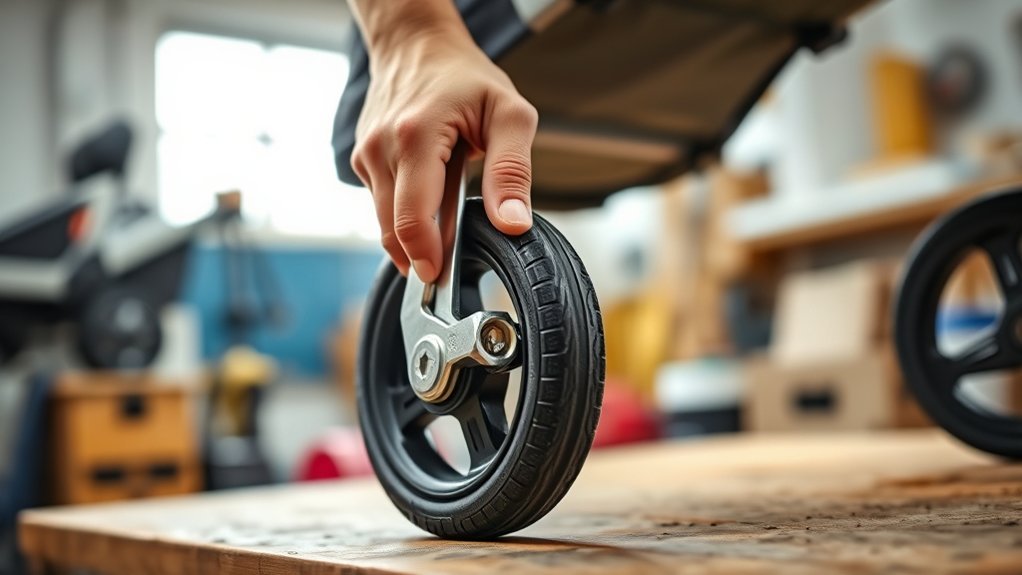
Axle removal varies widely. A stroller may use a push-button axle, threaded bolt, snap ring, E-clip, push nut, locking washer, or captive axle that should not be removed from the wheel.
Inspect the fastener before choosing a tool. Do not reuse a push nut, distorted locking washer, cracked clip, or retaining ring that no longer holds its shape. Replace single-use or damaged hardware with the manufacturer-approved part.
Tools Needed for Axle Removal
Use the driver, socket, or wrench specified for the wheel. Snap-ring pliers are safer than ordinary pliers when a circlip has purpose-made holes. Needle nose pliers may work for an accessible clip, but they can deform small retaining parts if they do not fit correctly.
Choose a driver that fully fits the screw head. Stop if a screw begins to strip, a clip cannot be controlled, or the axle requires heavy force. Manufacturer service is safer than damaging a safety-critical wheel attachment.
Step-by-Step Axle Extraction
- Identify the retainer: Compare the wheel with the diagram in the stroller manual.
- Clean the area: Remove hair, sand, and packed dirt around the axle and retainer.
- Release the correct fastener: Press the release button, remove the nut, or open the clip only as the manual directs.
- Support the wheel: Hold the hub so the axle does not drop, bend, or pull against plastic parts.
- Slide the axle out: Use steady hand pressure. Do not hammer on a hollow or quick-release axle.
- Inspect every part: Look for bending, flat spots, corrosion, cracks, missing springs, and damaged grooves.
| Step | Action | Important Check |
|---|---|---|
| 1. Identify | Confirm the retainer type. | Do not treat a push nut like a reusable circlip. |
| 2. Release | Use the correct tool and controlled pressure. | Shield the clip so it cannot spring away. |
| 3. Remove | Support the hub and slide out the axle. | Stop if the axle needs hammering or twists in the hub. |
| 4. Inspect | Check the axle, groove, clip, washer, and spacer. | Replace bent, cracked, loose, or heavily corroded parts. |
Avoiding Common Axle Removal Mistakes
Do not pull against a retaining clip that has not been fully released. Do not twist a quick-release axle with pliers, and do not strike a threaded end without the manufacturer’s procedure and proper thread protection.
If the axle feels stuck, clean the exposed area and check for a hidden retainer. Gentle movement may free light contamination, but force can bend the axle, enlarge the hub, or crack the wheel housing.
Warning: Do not use the stroller if the axle, release button, retaining groove, lock washer, clip, wheel housing, or frame mount looks cracked, bent, loose, or incomplete.
Extracting Ball Bearings
Check whether the bearing is pressed into the hub, retained by a clip, or trapped behind a spacer. Remove every visible retainer before applying extraction force.
A bearing puller is the safest option when space allows. If the opposite side of the bearing is accessible, use a narrow drift against the back of the bearing’s outer race. Tap lightly at alternating points so the bearing comes out evenly.
Do not drive through a thin plastic hub wall, pry against a seal, or concentrate force on one edge. If the bearing cannot be reached evenly, use a blind-hole puller or replace the complete wheel.
Tools Needed for Bearing Extraction
Useful tools include a small bearing puller, blind-hole puller, brass or steel drift with a smooth end, soft-faced mallet, snap-ring pliers, and a support block that holds the hub without crushing it.
A flathead screwdriver should be limited to removing a cap when the manufacturer shows that method. Its sharp edge can damage a plastic bearing seat or slip when used as a bearing puller.
Steps for Safe Bearing Removal
- Remove retainers: Take out any circlip, cover, washer, or spacer that blocks the bearing.
- Support the hub: Rest it on a stable surface with an open path beneath the bearing.
- Apply even force: Pull the bearing straight or tap around the back of its outer race in small increments.
- Save the center spacer: Many hubs contain a sleeve between two bearings.
- Inspect the bearing seat: Look for cracks, gouges, melting, oval shape, or looseness.
- Clean the bore: Remove loose dirt with a cloth and mild cleaner approved for the stroller material.
| Stage | Correct Method | Stop If |
|---|---|---|
| Retainer removal | Use the matching clip or fastener tool. | The retainer is hidden, seized, or becoming deformed. |
| Bearing extraction | Pull straight or work evenly around the outer race. | The hub flexes, cracks, or offers no safe tool access. |
| Hub inspection | Check that the bearing bore remains round and firm. | A bearing fits loosely or the seat has visible damage. |
| Spacer inspection | Clean and reinstall it in its original direction. | The spacer is crushed, split, missing, or too short. |
Choosing the Right Replacement Bearings
The safest choice is the manufacturer’s replacement bearing or complete wheel assembly. When the manufacturer allows a standard bearing replacement, match the exact bearing designation stamped on the old bearing whenever that marking remains readable.
Confirm the three basic dimensions in millimeters:
- Inner diameter or bore: The opening that fits the axle or internal sleeve
- Outside diameter: The surface that fits the wheel hub
- Width: The bearing’s total thickness
Also match the seal or shield arrangement. Common markings may indicate rubber seals, metal shields, or an open bearing, but suffix meanings can vary between manufacturers. Use the bearing manufacturer’s identification guidance or ask a reputable bearing supplier to cross-reference the full code.
Do not select a replacement only because it looks similar or has a higher advertised load rating. A bearing that is slightly loose can move inside the hub. A bearing that is too large can crack or distort the wheel during installation.
Note: Measurements taken from a worn or damaged bearing may be misleading. Use the stamped code, manufacturer parts list, or an undamaged matching wheel as the primary reference.
Reassembling the Wheel
Clean the bearing bore, spacer, axle, washers, and retaining parts before reassembly. The surfaces should be dry and free from grit, raised burrs, or old adhesive unless the manufacturer specifies a particular compound.
Start the new bearing square to the hub. When pressing a bearing into a wheel hub, apply force to the outer race rather than pushing through the inner race and balls. Use a flat press tool or socket that contacts the outer race without touching the seal.
If the wheel uses two bearings and a center spacer, install the first bearing, place the spacer in its original position, and then press in the second bearing. Confirm that the spacer remains centered and is not trapped at an angle.
Reinstall each washer, sleeve, spring, clip, cap, screw, and axle part in the photographed order. Tighten threaded fasteners to the manufacturer’s specification. Do not invent a torque value or overtighten plastic wheel parts.
A bearing can spin smoothly and still be unsafe if its spacer, retaining clip, axle, or wheel latch is installed incorrectly.
After attaching the wheel, pull it firmly outward without using excessive force. It should remain locked to the stroller. Remove and reinstall it if the latch does not produce the normal click or visual confirmation described in the manual.
Lubrication Techniques
Many sealed wheel bearings arrive with lubricant inside and do not need to be opened or flooded with oil. Replace a sealed bearing that remains rough rather than prying off its seals and trying to refill it.
Some manufacturers recommend cleaning the wheel axle and applying grease or oil to exposed moving parts. For example, the Thule Urban Glide 3 instructions call for cleaning wheel axles and lubricating exposed moving parts.
- Read the manual: Confirm which axle, swivel, or moving surfaces may be lubricated.
- Clean first: Remove sand, dust, hair, and old residue.
- Apply sparingly: Use only the approved grease or oil and wipe away excess.
- Protect plastics and seals: Avoid harsh solvents and unapproved penetrating sprays.
- Recheck movement: Spin and steer the wheel after reassembly.
Pro Tip: Photograph each spacer, washer, clip, and seal before removal, then place the parts in a divided tray from left to right. This simple habit prevents most reassembly-order mistakes.
Common Issues to Look Out For
| Symptom | Possible Cause | What to Check |
|---|---|---|
| Grinding while spinning | Contaminated or damaged bearing | Remove the wheel and turn the bearing by hand. |
| Side-to-side wobble | Loose bearing, worn hub, bent axle, or missing spacer | Check where the movement begins before replacing parts. |
| Wheel stops quickly | Brake rub, overtightened hardware, misaligned spacer, or bearing damage | Compare brake clearance and fastener position with the other wheel. |
| Clicking once per rotation | Damaged tire, debris, cracked hub, or bearing defect | Inspect the tire and hub while turning the wheel slowly. |
| Wheel pulls off | Retainer, axle groove, latch, or installation failure | Stop using the stroller and contact the manufacturer. |
| Squeak without roughness | Dry exposed axle, tire rub, or swivel joint | Clean the area and lubricate only where the manual permits. |
Deep rust, missing bearing balls, a cracked cage, a loose bearing seat, or a visibly bent axle requires replacement rather than cleaning. A bearing should not move independently inside the wheel hub.
Tips for Maintenance
Perform a quick wheel check before regular use. Confirm that every removable wheel is locked, the brakes release fully, and no wheel has new wobble, grinding, or resistance.
Frequent visual and hands-on checks can reveal a loose wheel, damaged fastener, or rough bearing before it becomes a larger steering or detachment problem.
- Keep the wheel area clean: Remove string, dirt, and pet hair before they wrap around an axle.
- Dry after wet use: Wipe the axle and wheel area after rain, puddles, or washing.
- Inspect after rough terrain: Check for loose fasteners and impact damage.
- Follow the service schedule: Use the maintenance interval in your model’s manual rather than a generic monthly rule.
- Store the stroller dry: Avoid prolonged storage in a damp garage, basement, or vehicle.
Manufacturer guidance may recommend periodic professional wheel service. Thule, for example, advises regular damage checks and at least annual wheel inspection and service for the Urban Glide 3.
Enhancing Stroller Performance
Fresh bearings can reduce drag and noise when the old bearings are the true cause. Proper axle alignment, correctly positioned spacers, secure wheel latches, clean swivel joints, and free-moving brakes are equally important.
Do not judge the repair only by how long the wheel spins. Excessively loose hardware may allow a long spin while creating dangerous side play. The goal is smooth, controlled movement with secure attachment and correct alignment.
If the stroller pulls to one side after the repair, compare tire pressure where applicable, wheel diameter, axle seating, brake clearance, and front-swivel alignment. Reopen the repaired wheel if the problem started immediately after reassembly.
Final Safety Check Before Carrying a Child
- Spin test: Turn each repaired wheel by hand and check for grinding, binding, and rubbing.
- Side-play test: Rock the wheel gently. Compare its movement with the matching undamaged wheel.
- Pull test: Pull outward on the wheel to confirm that the latch or retainer holds it securely.
- Brake test: Engage and release the parking brake several times.
- Swivel test: Confirm that a swiveling front wheel turns freely and locks correctly when applicable.
- Empty rolling test: Push the empty stroller slowly on a flat surface, make several turns, and test the brake.
- Final inspection: Recheck caps, clips, fasteners, axle seating, and wheel alignment.
Warning: Do not place a child in the stroller if the wheel wobbles, rubs, unlocks, pulls off, makes grinding sounds, or does not match the movement of the other wheel.
When to Replace the Wheel Instead of the Bearings
A full replacement wheel is safer when the hub is cracked, melted, distorted, or worn enough that the bearing no longer fits tightly. Replace the wheel if its axle seat, release mechanism, molded bearing surface, or retaining groove is damaged.
You should also replace the complete assembly when:
- The manufacturer lists only a complete wheel as a service part.
- The bearing is permanently molded or sealed into the hub.
- Proprietary clips, spacers, or covers are missing.
- The axle is bent or heavily corroded.
- A new bearing becomes loose after installation.
- The stroller is subject to a recall involving the wheel, axle, or attachment system.
- You cannot confirm the correct bearing designation or reassembly order.
Contact the manufacturer or an authorized service provider when the repair involves structural wheel parts. The CPSC stroller standard includes performance requirements related to wheel and swivel assembly detachment, so secure attachment is more important than saving a damaged wheel.
Frequently Asked Questions
How often should I replace stroller wheel bearings?
Stroller bearings do not have one universal replacement interval. Replace them when diagnosis confirms rough movement, excessive play, corrosion, physical damage, or failure to remain secure after cleaning and inspection. Follow any service interval stated in your stroller manual.
Can I use any type of lubricant?
No. Use only a grease or oil approved by the stroller manufacturer for the exposed axle, swivel, or moving part. Do not remove the seals from a sealed bearing or soak the wheel with penetrating oil.
What tools are essential for this replacement?
You need the stroller manual, the correct driver or socket, a parts tray, cleaning cloths, and the tool required for the wheel’s retainer. A caliper, bearing puller or drift, and a press tool are usually needed when the bearing itself is serviceable.
Where can I buy replacement ball bearings?
Start with the stroller manufacturer or an authorized parts supplier. A reputable bearing distributor may provide an exact replacement when you have the complete bearing code and confirmed dimensions. Avoid unmarked bearings with unclear specifications.
Is it safe to use the stroller without replacing damaged bearings?
No. Stop using the stroller when a wheel is loose, unstable, grinding, difficult to steer, or able to pull away from the frame. A damaged bearing can also hide problems with the axle, hub, or retaining system.
How can I tell a bearing problem from a swivel or brake problem?
Remove the wheel if the manual permits it and turn the bearing directly. Roughness inside the bearing points to bearing damage. A smooth detached wheel that binds only after installation may indicate brake rub, axle alignment, spacer, latch, or swivel trouble.
Can I hammer a new bearing into the stroller wheel?
Direct hammering is not recommended. Press the bearing in squarely with a tool that contacts the correct race. Uneven impact can damage the bearing, crack a plastic hub, displace the center spacer, or leave the bearing crooked.
Conclusion
Replacing stroller wheel bearings safely begins with confirming that the manufacturer designed the wheel for bearing service. Use the correct manual, identify every retaining part, match the exact bearing, and remove and install it with controlled, even force.
Inspect the axle, hub, clips, spacers, brakes, and wheel latch before returning the stroller to use. Test the repaired stroller empty on a flat surface, and replace the complete wheel or contact the manufacturer whenever the assembly remains loose, damaged, or uncertain.
Sources
- U.S. Consumer Product Safety Commission: Carriages and Strollers Business Guidance — stroller safety requirements, including wheel and swivel assembly detachment
- U.S. Consumer Product Safety Commission Recall Database — current stroller recalls and safety warnings
- UPPAbaby Product Manuals — examples of model-specific stroller instructions and service information
- Thule Urban Glide 3 Instructions — manufacturer guidance for wheel inspection, axle cleaning, lubrication, and service
- SKF Bearing Basics — bearing construction, identification, fit, and selection principles


