If your stroller brake sticks, pops back up, drags, or fails to lock every required wheel, stop using the stroller with your child inside. Start by identifying the stroller model, checking its manual and recall status, and inspecting the brake without taking safety-critical parts apart. Dirt and incorrectly seated wheels may be easy to correct, but worn, cracked, bent, or unreliable brake parts usually need model-matched replacement or professional service.
Quick Answer
To fix stroller brakes safely, identify the model, check the manual and recalls, inspect the pedal, linkage, wheel locks, springs, cables, and wheel installation, then remove dirt. Use lubricant only where the manufacturer allows it. Replace damaged parts if the brake slips, releases unexpectedly, or still fails after cleaning.
Key Takeaways
- Do not place a child in a stroller whose parking brake slips, releases by itself, or fails to lock the required wheels.
- Find the model number, manufacture date, manual, and recall information before disassembling or adjusting the brake.
- Clean dirt, hair, sand, and mud before deciding that a component is broken.
- Use only a manufacturer-approved lubricant and keep it away from brake teeth, tire tread, and friction surfaces.
- Do not sand, grind, glue, reshape, or straighten safety-critical brake parts unless the manufacturer provides that exact procedure.
- Replace cracked, badly worn, rusty, stretched, loose, or unreliable parts with components approved for the exact stroller model.
At a Glance
| Time Required | About 15 to 30 minutes for identification, inspection, cleaning, and testing; replacement or service may take longer |
| Difficulty | Easy for inspection and cleaning; model-specific adjustment or structural repair may require authorized service |
| Tools Needed | Stroller manual, flashlight, soft brush, clean cloth, mild soap, and only the model-specific tools or lubricant listed by the manufacturer |
| Cost | Cleaning may cost nothing; approved replacement parts and professional service vary by stroller model |
Warning: A stroller parking brake is a safety device. Do not use the stroller with a child inside if the brake fails to engage, releases without being touched, locks only one wheel when it should lock both, or allows the stroller to roll while locked.
Identify the Stroller and Check for Recalls
Before you clean, lubricate, remove, or adjust anything, find the stroller’s model label. It is often attached to the frame, basket support, rear crossbar, underside of the seat, or folding mechanism. Record the brand, model name, model number, serial number, and manufacture date.
Use that information to find the official manual and support page. The manual should show how the parking brake works, whether the wheels are removable, which parts owners may service, and whether lubricant is allowed. Do not assume that instructions for another stroller from the same brand apply to your model.
Next, search the U.S. Consumer Product Safety Commission recall database. A brake that fails to engage or unexpectedly releases may be connected to a product defect that requires a manufacturer remedy rather than a home repair.
The federal stroller rule, 16 CFR Part 1227, incorporates safety requirements for carriages and strollers. CPSC also identifies parking-brake requirements as part of stroller performance requirements.
Note: A hand brake on some jogging strollers may control speed while moving and may not be the parking brake. Identify which control holds the stationary stroller before diagnosing the system.
Inspecting the Brake System
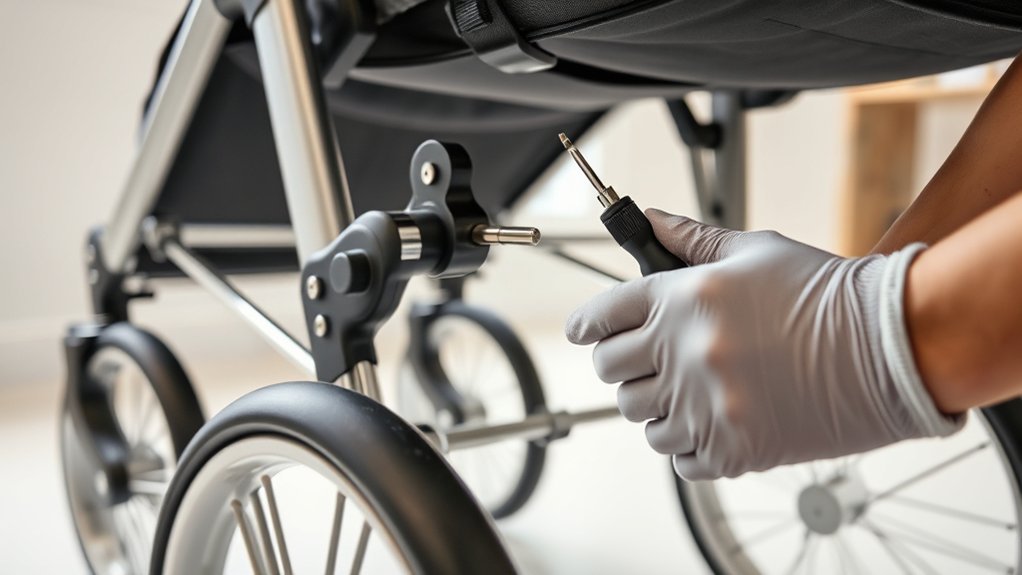
Place the empty stroller on a clean, level, well-lit surface. Remove bags, accessories, and loose items. Open and lock the frame according to the manual so it cannot fold while you work.
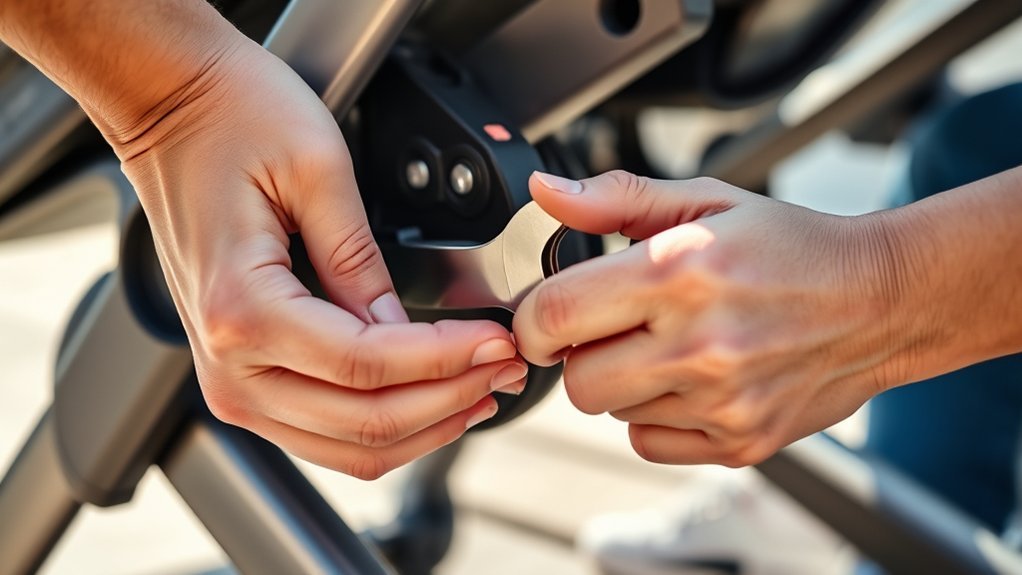
Press the parking-brake pedal or control without forcing it. Notice whether it moves through its normal range, clicks or settles into the locked position, and remains engaged. Release it and repeat the motion several times.
Check the parts that are visible without disassembly:
- The foot pedal or parking-brake control
- The linked rear brake bar or individual wheel locks
- Springs, cables, rods, pivots, and retaining clips
- Rear wheels, axles, wheel-release buttons, and mounting points
- Plastic locking edges, teeth, openings, and housings
- Screws, nuts, pins, washers, and protective covers
A working parking brake should engage predictably, remain engaged, and prevent the required wheels from rolling on a level surface.
Look for cracks, missing pieces, polished or rounded locking edges, rust, stretched springs, frayed cables, loose hardware, and parts that rub or sit at different heights. Compare the left and right sides when the stroller has a linked rear brake.
If the rear wheels are removable, confirm that each wheel is fully seated and locked onto its axle exactly as the manual describes. A partly installed wheel can cause uneven brake engagement or make a locking pin miss its intended opening.
Cleaning Before Repair
Dirt is one of the simplest causes of a sticking or incomplete brake. Hair, sand, dried mud, crumbs, road salt, and small stones can collect around the pedal, axle, brake bar, cable guide, or wheel-lock opening.
Use a soft, dry brush to loosen debris. Wipe accessible surfaces with a slightly damp cloth and mild soap when the manual permits it. Do not direct water into bearings, enclosed cable housings, or frame openings. Dry the brake area completely before testing it.
Pro Tip: Photograph the brake and rear-wheel installation before removing a wheel or owner-serviceable cover. The photos can help you confirm that washers, clips, and wheel parts return to their original positions.
Operate the brake again after cleaning. If it now engages and releases smoothly, debris may have caused the problem. Continue with the level-surface test before using the stroller.
Lubricating the Brake Bars
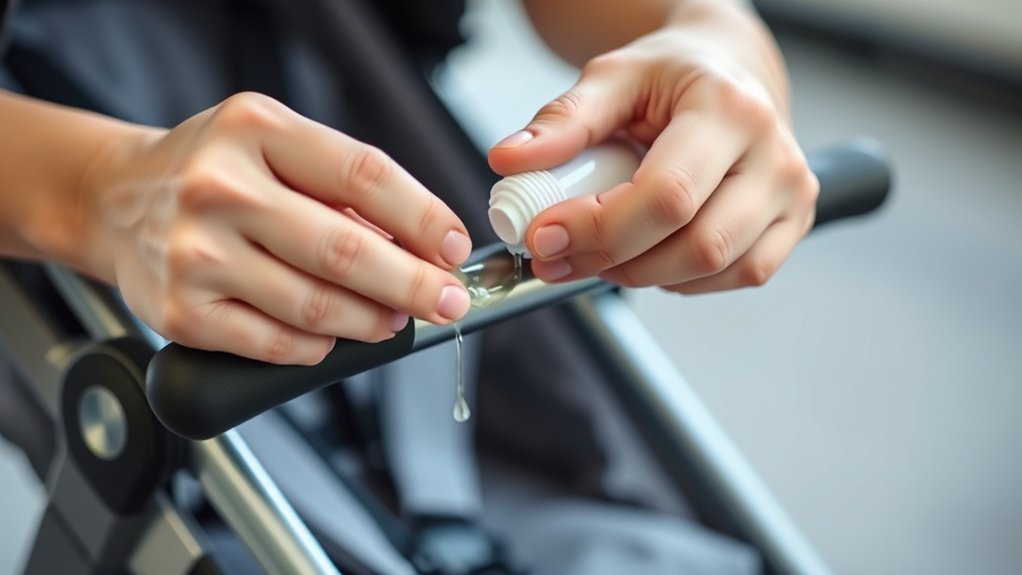
Lubrication may help a dry metal pivot or manufacturer-designated moving joint, but it is not a general cure for stroller brake problems. Do not apply a lubricant until you have checked the manual for the approved product, location, and method.
If the manufacturer permits lubrication, use the smallest amount needed at the named pivot or linkage point. Work the control several times, then wipe away all excess. Protect the fabric, tires, floor, and surrounding plastic from overspray or drips.
Do not place lubricant on:
- Brake teeth or locking pins
- Tire tread or wheel contact surfaces
- Plastic latch faces that depend on secure engagement
- Unknown plastic, rubber, painted, or coated parts
- Cables or enclosed housings unless the manual specifically permits it
Note: Do not assume that a household penetrant, silicone spray, grease, or machine oil is compatible with your stroller. Follow the product manual or obtain written guidance from the manufacturer.
Troubleshooting Common Stroller Brake Problems
Use the brake’s symptoms to narrow down the likely cause. The table below covers visual checks and basic maintenance, not structural modification.
| Symptom | Possible Cause | Safe Next Step |
|---|---|---|
| Pedal is stiff or sticks | Debris, corrosion, a dry approved pivot, misalignment, or a damaged housing | Clean accessible parts. Use approved lubricant only if the manual allows it. Seek service if stiffness remains. |
| Pedal pops back up | Worn latch surface, weak or displaced spring, damaged pedal, or incomplete linkage travel | Stop using the stroller. Check recalls and obtain an approved replacement assembly or manufacturer service. |
| Only one rear wheel locks | Wheel not fully seated, bent or displaced linkage, debris, cable imbalance, or damaged wheel-lock parts | Reseat removable wheels as directed, clean the area, and inspect for damage. Do not bend the linkage to compensate. |
| Wheels roll while the brake is locked | Incomplete engagement, worn teeth or pins, damaged linkage, weak spring, or a recalled defect | Stop using the stroller and contact the manufacturer for the correct remedy. |
| Brake drags after release | Debris, incorrectly seated wheel, damaged return spring, cable problem, or improper adjustment | Clean and verify wheel installation. Obtain model-specific service if the brake does not release fully. |
| Hand-brake lever feels loose | Stretched, disconnected, frayed, or improperly routed cable | Determine whether it is a parking or speed-control brake, then follow the exact cable procedure in the manual or arrange service. |
Identifying Wear and Damage
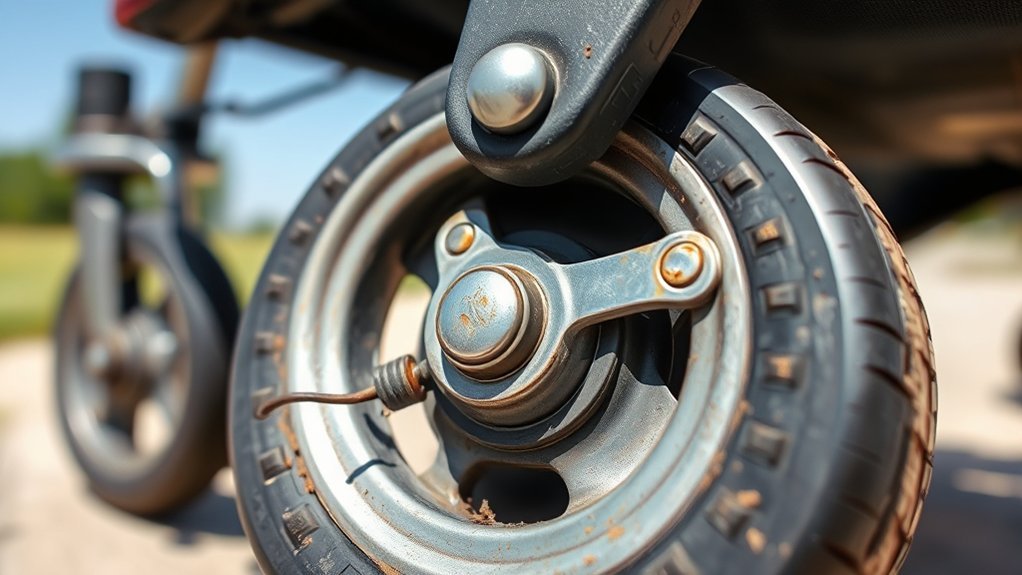
Stroller brakes often depend on small locking surfaces, pins, teeth, springs, cables, and linkages. Minor-looking damage can prevent the mechanism from staying locked, so inspect these areas closely without changing their shape.
Check Plastic Parts and Locking Surfaces
Look for plastic that is cracked, split, bent, whitened from stress, rounded, flattened, or missing. Compare matching parts on both sides when possible. A shiny contact mark can show where parts meet, but a deeply worn or rounded locking edge may no longer hold securely.
Do not repair a cracked pedal or lock housing with glue, tape, filler, heat, a file, sandpaper, or a rotary tool. These methods can hide damage without restoring the part’s original strength or locking geometry.
If the locking surface is damaged, obtain the correct pedal, wheel, brake housing, axle assembly, or linkage for the exact model.
Inspect the Brake Bar, Rod, or Linkage
Check a linked brake bar or rod for visible bending, rust, cracks, looseness, scraping, or unequal positioning. A bar that no longer sits evenly may lock one side before the other.
Do not force or straighten a bent bar unless the manufacturer’s instructions specifically identify it as adjustable and provide the procedure. A creased, cracked, corroded, or repeatedly bending component should be replaced.
Also inspect the openings or wheel teeth that receive the locking pin. Clean out debris, but do not enlarge, sand, or reshape the openings to make the brake fit.
Inspect Springs and Cables
A spring should be present, correctly seated, and free from heavy rust, stretching, breakage, or distortion. A cable should not be frayed, sharply kinked, crushed, or detached from its guide.
A pedal that will not remain engaged, a control that feels unusually loose, or a brake that releases by itself may indicate internal spring, latch, or cable failure. Lubrication cannot restore a weak spring or damaged cable.
| Condition | Why It Matters | Recommended Action |
|---|---|---|
| Weak, stretched, rusty, or broken spring | The brake may not engage or remain locked | Replace with the approved spring or complete brake assembly |
| Bent, creased, cracked, or rusty bar | The wheels may lock unevenly or not at all | Arrange approved replacement or manufacturer service |
| Rounded or cracked plastic locking part | The pedal may pop up or release unexpectedly | Replace the affected component; do not rebuild its shape |
| Frayed, kinked, or disconnected cable | Cable travel and braking force may be unreliable | Stop using the affected brake and obtain model-specific service |
Make Only Model-Specific Adjustments
Some stroller manuals allow owners to adjust a cable, replace a wheel, reseat a linkage, tighten named fasteners, or install a manufacturer repair kit. Other brake assemblies are sealed or designed to be replaced as a complete unit.
Perform an adjustment only when all of the following are true:
- You have confirmed the exact stroller model and production version.
- The official manual or manufacturer instructions describe the adjustment.
- You have the specified tools, torque information, replacement hardware, and approved parts.
- The component is not cracked, severely worn, rusty, creased, or structurally damaged.
- You can complete the manufacturer’s required test afterward.
Do not create a generic repair by moving an unnamed “brake cylinder,” bending a bar, stretching a spring, enlarging a wheel opening, adding washers, or changing the shape of a latch. These changes can make the brake appear to work while reducing its ability to remain locked.
When to Stop and Replace Parts
Stop cleaning or troubleshooting and arrange replacement or service when you find structural damage or an unreliable lock. Use only parts approved for the exact model and production version.
Replace the affected component or contact the manufacturer if you find:
- A cracked brake pedal, wheel-lock housing, or frame mount
- A brake bar or linkage that is bent, creased, cracked, loose, or heavily rusted
- A spring that is stretched, broken, missing, rusty, or displaced
- A cable that is frayed, kinked, crushed, or disconnected
- Rounded, flattened, or missing locking teeth or latch surfaces
- A brake that releases without being touched
- Wheels that roll while the parking brake is engaged
- Repeated failure after cleaning and correct wheel installation
- Missing pins, screws, clips, washers, nuts, or protective components
Do not substitute hardware-store springs, improvised clips, glue, cable ties, tape, or unmatched fasteners for approved brake parts. A part that looks similar may have different dimensions, strength, or retention features.
If you believe the failure may involve a product defect, you can search or submit a report through SaferProducts.gov. Keep the model information, photos, purchase records, and manufacturer correspondence.
Testing the Brakes After Maintenance or Approved Repair
Test the empty stroller on a clean, level surface before placing your child or belongings inside it. Do not use a driveway, ramp, hill, platform edge, street, or other sloped location for the test.
- Confirm that every removed wheel and owner-serviceable part is reinstalled and locked according to the manual.
- Engage the parking brake using normal foot or hand pressure. Do not force the control.
- Push the empty stroller gently forward and backward. The wheels that the brake is designed to lock should remain stationary.
- Release the brake and confirm that the wheels turn freely without dragging.
- Engage and release the brake at least ten times. It should respond consistently without popping up, sticking, or changing position.
- Turn and reposition the stroller on the same level surface, then repeat the lock test.
- Listen for scraping, clicking, or rubbing that was not present before the work.
Warning: Do not add your child as a test load. If the empty stroller rolls, the pedal releases, or the brake response changes between tests, stop using it and contact the manufacturer or a qualified repair service.
Maintaining Regular Brake Checks
Make a quick parking-brake test part of your normal pre-use check. Engage the brake on a level surface, give the empty stroller a gentle push, and confirm that the control remains locked before placing your child inside.
Inspect and clean the brake sooner after:
- Use in rain, mud, sand, snow, dust, or road salt
- A curb impact, fall, collision, or rough airline handling
- Removing and reinstalling a rear wheel
- Long-term storage or storage under heavy objects
- Hearing new scraping, clicking, or rubbing sounds
- Noticing a change in pedal travel, resistance, or wheel movement
Follow the maintenance interval in the stroller manual rather than relying on one universal monthly or quarterly schedule. Environmental exposure and brake design can change what the stroller needs.
Frequently Asked Questions
How often should I check stroller brakes?
Give the parking brake a quick functional check before use and follow the inspection schedule in the stroller manual. Inspect it again after wet, sandy, muddy, dusty, or salty conditions, after an impact or trip, and whenever the pedal or wheels behave differently.
Can I use WD-40 or silicone spray on stroller brakes?
Do not choose a lubricant by brand or type without checking the stroller manual. Use only a manufacturer-approved lubricant at the specified points. Keep all lubricant away from brake teeth, locking pins, tire tread, latch faces, and other surfaces that depend on secure contact.
What tools do I need to fix stroller brakes?
Basic inspection and cleaning usually require the stroller manual, a flashlight, soft brush, clean cloth, and mild soap. Use screwdrivers, wrenches, lubricant, or replacement hardware only when the official instructions identify the tool, fastener, product, and procedure.
Why does my stroller brake pedal keep popping back up?
The pedal may be blocked by debris or affected by a worn latch, damaged pedal, weak spring, displaced linkage, cable problem, or brake-related defect. Clean and inspect the visible parts, check recalls, and stop using the stroller if the pedal still will not remain locked.
Why does only one stroller wheel lock?
One wheel may not be fully seated, or the brake may have debris, a damaged wheel-lock opening, uneven linkage, a cable problem, or a bent component. Reinstall removable wheels as directed and clean the area. Do not bend the linkage to make the second wheel catch.
Can I straighten a bent stroller brake bar?
Only follow a straightening or alignment procedure when the manufacturer provides it for your exact model. Replace or professionally service a bar that is creased, cracked, rusty, loose, or badly bent. Do not use heat or repeated bending on a safety-critical component.
How do I check whether my stroller has been recalled?
Find the brand, model number, serial number, and manufacture date on the stroller label. Search the CPSC recall database and the manufacturer’s recall page. Compare every identifier carefully because a recall may cover only certain production dates or versions.
Is it safe to repair stroller brakes myself?
Visual inspection, debris removal, correct wheel installation, and manufacturer-approved routine maintenance are reasonable owner tasks. Do not improvise repairs to springs, cables, locking surfaces, bars, pedals, or housings. Use an approved repair kit or qualified service for structural or internal brake problems.
Conclusion
You can solve some stroller brake problems by identifying the model, checking recalls, reinstalling a removable wheel correctly, clearing debris, or applying an approved lubricant to a designated pivot. These steps should always follow the stroller manual.
A brake that pops up, locks unevenly, drags, releases by itself, or allows the stroller to roll needs more than repeated force or improvised modification. Replace damaged parts with model-approved components or arrange manufacturer service. Do not put your child back in the stroller until the parking brake engages consistently and passes every level-surface test.
Sources
- U.S. Consumer Product Safety Commission: Carriages and Strollers Business Guidance — identifies parking-brake requirements and other stroller performance requirements.
- Electronic Code of Federal Regulations: 16 CFR Part 1227 — provides the current U.S. safety standard for carriages and strollers.
- CPSC Recalls and Product Safety Warnings — provides current recall searches and remedy information.
- SaferProducts.gov — allows consumers to search for and report potentially unsafe consumer products.