To get mold out of your stroller, start by identifying any non-washable parts. Then, prepare a 50/50 chlorine solution and conduct a test on a hidden fabric area for discoloration. If safe, soak the affected fabric in a stronger chlorine solution, monitoring for changes. Rinse thoroughly with cold water afterward. Don’t forget to scrub stubborn spots and neutralize odors with vinegar. Regular cleaning and proper storage can prevent future mold issues. More effective tips await you!
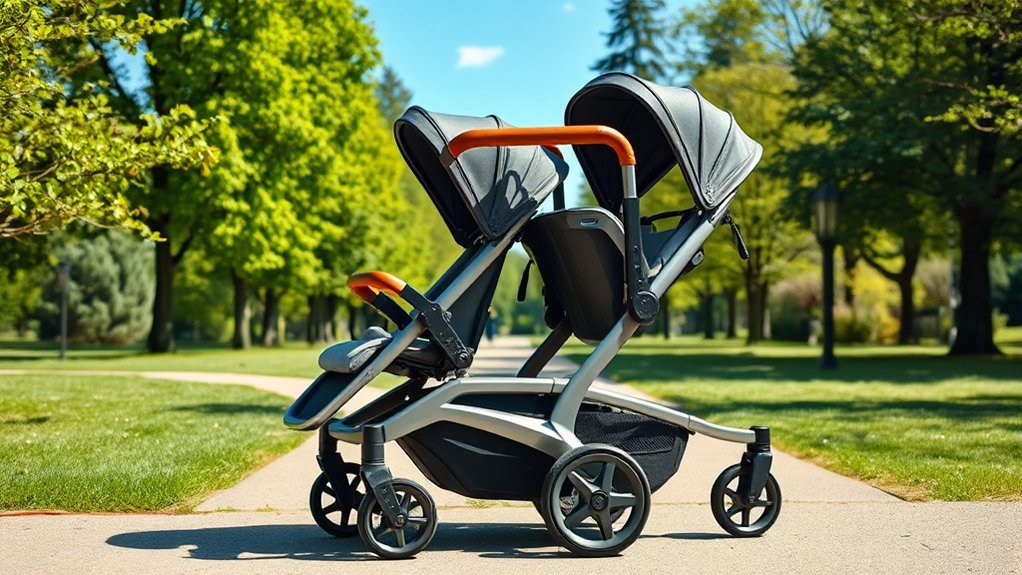
Identify Non-Washable Stroller Parts
When tackling mold removal in your stroller, it’s crucial to identify non-washable parts to avoid damage during the cleaning process.
Many strollers feature non-washable materials like canopies with metal ribbing, plastic components, and areas housing electronic elements or foam padding. Always check the manufacturer’s label or user manual for specific care instructions.
Remember, metal frames and components shouldn’t be submerged in water or exposed to harsh cleaning solutions, as this can lead to rust and deterioration. Fabrics that aren’t machine washable may require spot cleaning or alternative methods.
Don’t overlook attachment points, harnesses, and other safety features, as these often have unique cleaning limitations that you must respect to maintain their integrity and guarantee your child’s safety.
Prepare Your Cleaning Solution

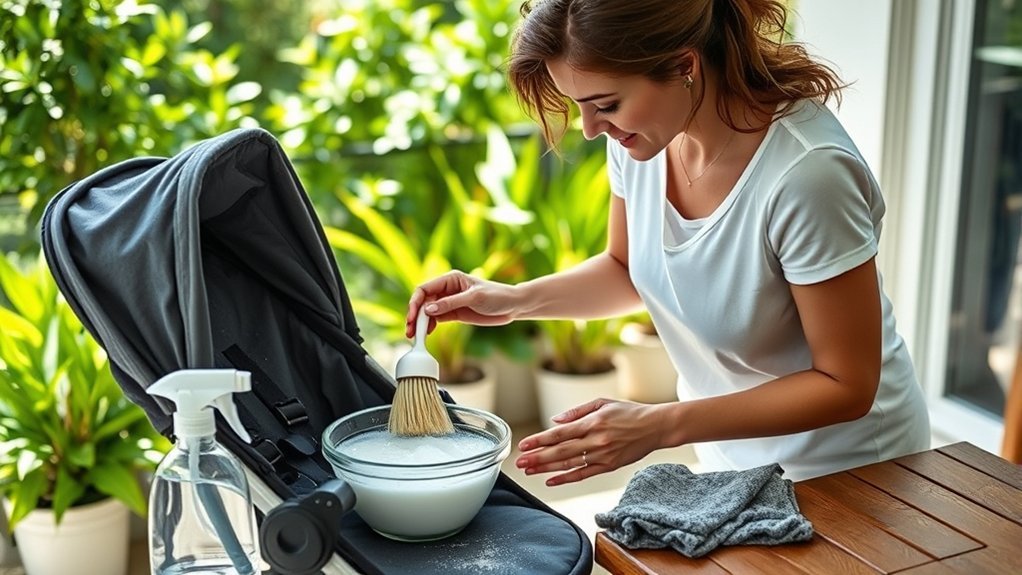
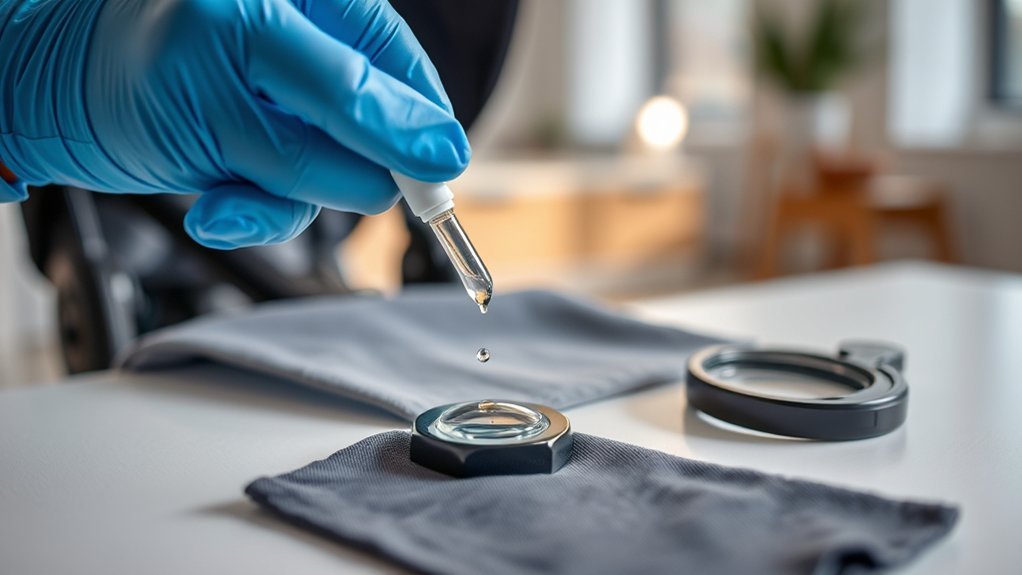
To effectively tackle mold removal, you’ll need to prepare a suitable cleaning solution. Start by mixing a 50/50 solution of chlorine and water for testing on a hidden spot of the stroller fabric. This step guarantees you check for discoloration before applying it to larger areas.
If the test is successful, increase the concentration to 25%-33% for treating mildew spots effectively. Remember to wear rubber gloves during solution preparation and application to protect your skin from chlorine exposure. Ascertain the area is well-ventilated to minimize inhalation of fumes.
After you’ve treated the affected areas, rinse the fabric thoroughly with cold water to remove any chlorine residue. With the right cleaning supplies and careful solution preparation, you’re on your way to a mold-free stroller!
Conduct a Discoloration Test
Before you start cleaning, it’s crucial to conduct a discoloration test on an inconspicuous area of the fabric.
Mix a 50/50 solution of chlorine and water, apply it, and observe the area for any changes after 10 minutes.
Don’t forget to rinse the spot with water afterward to eliminate any chlorine residue and protect the fabric.
Testing Methodology Explained
Since you want to ascertain your stroller fabric can withstand a chlorine solution, it’s vital to conduct a discoloration test first.
Begin by preparing a 50/50 mixture of chlorine and water for your testing procedure. Select a discreet area of the fabric to apply this solution, then wait for 10 minutes to evaluate any changes.
This discoloration assessment is significant; if you notice no discoloration, rinse the area with water to remove any remaining chlorine. Document any color changes during this test to understand how the fabric reacts to chlorine.
Always remember to choose a hidden spot to avoid visible damage while ensuring you’re informed before proceeding with the full cleaning process.
Timing and Observation Tips
Conducting a discoloration test is an essential step in determining how your stroller fabric reacts to chlorine solutions. By implementing effective timing strategies and observation techniques, you’ll guarantee the fabric maintains its integrity.
Follow these steps:
- Choose a hidden area on the fabric for testing.
- Prepare a 50/50 chlorine and water solution, applying it to the test spot.
- Wait for 10 minutes to observe any discoloration; monitor closely for mildew spots, checking within 5 to 10 minutes.
- If there’s no discoloration, rinse the area with water to avoid damage.
If mildew spots don’t lighten, consider increasing the chlorine concentration while continuing to observe for color changes.
This careful approach will help you preserve your stroller’s fabric while effectively removing mold.
Rinse Procedure Importance
Rinsing the test spot after conducting a discoloration test is essential to protect your stroller’s fabric from potential damage.
By mixing a 50/50 solution of chlorine and water, you can safely assess the fabric’s reaction without risking widespread discoloration. After applying the solution to a hidden area, wait for ten minutes, then observe for any color changes. If there’s no discoloration, proceed with confidence.
However, don’t skip rinsing the test spot! This rinse technique washes away any chlorine residue, ensuring it won’t harm your stroller’s fabric integrity.
The rinse benefits are twofold: it confirms the fabric’s safety and prepares the surface for further cleaning, keeping your stroller looking fresh and new.
Soaking the Affected Fabric
To effectively soak the affected fabric of your stroller, prepare a chlorine and water solution with a concentration of 25%-33%.
Submerge the fabric completely, paying close attention to the most heavily affected areas, and monitor for any changes during the soaking process.
After 5 to 10 minutes, rinse the fabric thoroughly under cold running water to remove any chlorine residue.
Prepare Soaking Solution
Preparing the soaking solution is an essential step in removing mold from your stroller’s fabric. Follow these simple instructions for effective mildew removal using proper soaking techniques:
- Mix Chlorine and Water: Combine chlorine with water at a concentration of 25%-33%.
- Choose a Basin: Use a large basin or bathtub to fully submerge the affected fabric.
- Monitor Changes: Check the fabric for changes after 5 to 10 minutes. If needed, add more chlorine for stubborn mildew spots.
- Rinse Thoroughly: After soaking, rinse the fabric under cold running water to remove chlorine residue and prevent damage.
Monitor Fabric Changes
While soaking the affected fabric, it’s vital to closely monitor any changes that occur during the process.
Use effective monitoring techniques by checking the fabric condition every 5 to 10 minutes. If you notice that mildew spots aren’t lightening, consider adding more chlorine to your soaking solution for enhanced results.
Make sure the fabric is entirely submerged or focus on specific areas needing treatment. Keeping a vigilant eye on the fabric allows you to assess how well the chlorine is working.
Any visible changes will indicate the treatment’s effectiveness. This step is significant for achieving the best results and liberating your stroller from mold, so don’t rush through it.
Stay patient and observant for the best outcome.
Rinse Thoroughly Afterward
Once you’ve soaked the affected fabric in the chlorine solution, rinsing it thoroughly under running cold water is essential to remove any residual chlorine and protect the material.
Here are some effective rinse techniques to guarantee a thorough clean:
- Rinse Until Clear: Keep rinsing until the water runs clear, indicating all soap and chlorine are gone.
- Use a Sponge: Gently scrub the area with a sponge to eliminate any lingering mildew spots.
- Guarantee Ventilation: Open windows or use a fan to minimize chlorine fumes during rinsing, ensuring your safety.
- Wipe Down Other Parts: Don’t forget to wipe any plastic or metal stroller components to prevent corrosion from chlorine residue.
Rinsing Thoroughly
Rinse the fabric thoroughly under running cold water to eliminate any remaining chlorine and prevent residue buildup. Keep rinsing until the water runs clear, guaranteeing all traces of chlorine and soap are removed. For stubborn spots, use a sponge and scrub gently, applying effective rinsing techniques to achieve a deeper clean. Don’t forget to rinse plastic or metal components of the stroller; chlorine residue can lead to corrosion. Proper rinsing not only enhances chlorine safety by removing harmful chemicals but also maintains the integrity and longevity of your stroller fabric.
| Rinsing Technique | Purpose |
|---|---|
| Running Cold Water | Removes chlorine residue |
| Sponge Scrubbing | Targets stubborn areas |
| Clear Water Check | Guarantees thorough rinsing |
| Component Rinsing | Prevents corrosion |
| Fabric Integrity | Maintains fabric quality |
Additional Cleaning Steps
To effectively tackle any lingering mold and odors, consider soaking the stroller fabric in a mixture of mild soap and water.
After soaking, follow these additional cleaning steps:
- Use a sponge or soft brush to gently scrub away any remaining stains or dirt on the fabric types.
- Apply a vinegar solution to neutralize any leftover mildew odors for extra sanitation.
- Verify the stroller is completely dry before reassembling to prevent moisture buildup.
- Regularly inspect and clean stroller parts, especially after outings in humid conditions or wet environments, to maintain proper cleaning frequency.
Safety Measures During Cleaning
After confirming the stroller fabric is clean and free from mold, it’s important to prioritize safety during the cleaning process.
Start by wearing rubber gloves to protect your skin from irritation and potential chemical burns. Ascertain your cleaning area is well-ventilated—open windows or use fans to disperse strong chlorine fumes safely.
Wearing rubber gloves and ensuring proper ventilation are crucial for safe cleaning with chlorine.
When mixing chlorine with water, be cautious and follow the recommended concentration guidelines to avoid creating overly strong solutions that can damage the fabric.
After cleaning, thoroughly rinse all surfaces to remove any residual chlorine, preventing caulking effects on materials.
Finally, allow the cleaned fabric to air dry completely in a well-ventilated space, guaranteeing any lingering chlorine smell dissipates before using the stroller again.
Effectiveness of Chlorine for Mildew Removal
While some may hesitate to use chlorine for mildew removal, it remains one of the most effective options available due to its powerful oxidizing properties.
Here’s how to effectively use chlorine while ensuring mildew prevention:
- Prepare a diluted solution: Mix 25%-33% chlorine with water.
- Test a hidden area: Always check a small, inconspicuous spot first to avoid discoloration.
- Monitor the soaking process: Look for changes within 5 to 10 minutes.
- Rinse thoroughly: Use cold water to remove all chlorine residue, preventing fabric damage.
If you’re considering chlorine alternatives, remember that they mightn’t match its effectiveness.
Proper application of chlorine can lead to cleaner strollers and a mildew-free environment.
Tips for Stroller Maintenance After Cleaning
Maintaining your stroller after cleaning is essential to prevent mold from returning and to keep it in top condition for your child.
Regularly inspect your stroller for any signs of mildew, especially in areas that hold moisture, like fabric seams.
After each use, clean the stroller fabrics with a damp cloth and mild soap to avoid dirt and moisture buildup.
When storing your stroller, choose a dry, well-ventilated area, steering clear of damp garages or basements that encourage mold growth.
If your stroller features removable fabric parts, wash them per care instructions every few months.
For added mildew prevention, consider applying a fabric protector spray designed for outdoor gear, which helps repel water and resist mold on stroller fabrics.
Frequently Asked Questions
How Often Should I Check for Mold in My Stroller?
You should check your stroller for mold at least once a month. Regular stroller maintenance and early mold prevention can keep your stroller safe and hygienic, ensuring a healthy environment for your child when you’re outdoors.
Can I Use Vinegar Instead of Chlorine for Mold Removal?
Why use harsh chemicals when vinegar’s benefits are so effective? You can definitely use vinegar as a mold alternative. It’s safe, non-toxic, and can effectively eliminate mold without the risks associated with chlorine.
What Should I Do if Mold Returns After Cleaning?
If mold returns, implement mold prevention techniques like regular cleaning and ensuring proper ventilation. Follow stroller maintenance tips, such as storing it in a dry place, to keep mold at bay and maintain its condition.
Are There Specific Strollers More Prone to Mold Growth?
Yes, strollers made from non-breathable fabrics or those lacking mold-resistant materials are more prone to mold. To combat this, follow proper stroller storage tips, ensuring it’s kept dry and well-ventilated when not in use.
Can Mold on a Stroller Affect My Child’s Health?
Yes, mold on a stroller can affect your child’s health. Mold exposure can lead to respiratory issues, allergies, and other health risks. It’s essential to keep strollers clean and mold-free for your child’s well-being.
Conclusion
By following these steps, you’ll clear out mold and mildew from your stroller like a gardener tending to a wilting plant. Regular cleaning and maintenance will not only keep your stroller looking fresh but also guarantee a safe environment for your little one. Remember, a little effort goes a long way in preserving both the stroller’s appearance and functionality. With these tips, you’ll be well-equipped to tackle any mold issues that arise, keeping your stroller in top shape.