Keeping your stroller canopy in top shape is key for your little one’s comfort and safety. First, gather materials like transparent plastic, scissors, and thread. When replacing a window, cut the plastic larger for easy sewing and pin it down to avoid sagging. Use techniques similar to the original stitches for a neat look. Don’t forget to inspect your work for loose areas. Stick around, and I’ll share more insider tips to make your repair a breeze!
Importance of Stroller Canopy Maintenance

Your stroller’s canopy might seem like just a simple accessory, but keeping it in top shape is crucial for your little one’s comfort and safety.
Regular canopy cleaning isn’t just about aesthetics; it plays a critical role in maintaining UV protection. When you wipe away dirt and pollutants, you’re not just preventing odors; you’re creating a healthier space for your child.
Plus, inspecting for wear and tear can save you from replacement costs later. I remember the first time I noticed my canopy fading—I realized I hadn’t been as diligent.
Regularly checking for wear and tear can help you avoid costly replacements down the line.
Dusting and spot cleaning can make a significant difference, extending your canopy’s lifespan and ensuring those sunny strolls are as safe as possible.
Materials Needed for Repair
Getting your stroller canopy back in shape doesn’t have to be an intimidating task.
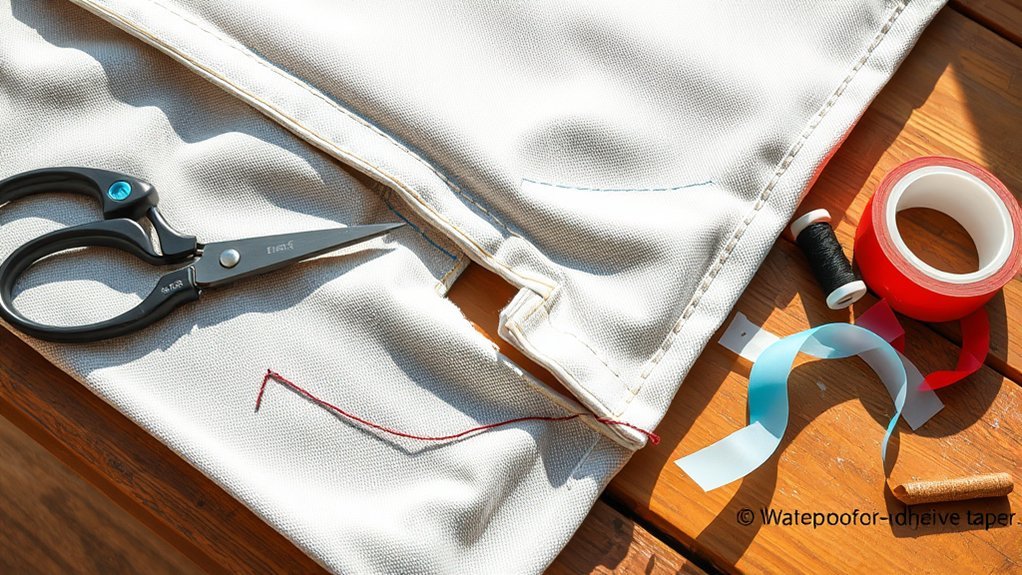
With the right materials, you can tackle this repair like a pro! Here’s what you’ll need for effective repair techniques and solid material selection:
- Transparent Plastic Sheeting: Choose durable plastic that can handle outdoor conditions, like rain covers or construction supply plastic.
- Scissors and Pins: You’ll need scissors to cut the plastic larger than the window area and pins to hold everything in place while you sew.
- Needle and Thread or Sewing Machine: Use these for attaching your new plastic. If the canopy’s still on the frame, hand sewing works just fine.
Gather these items, and you’ll be ready to restore that canopy!
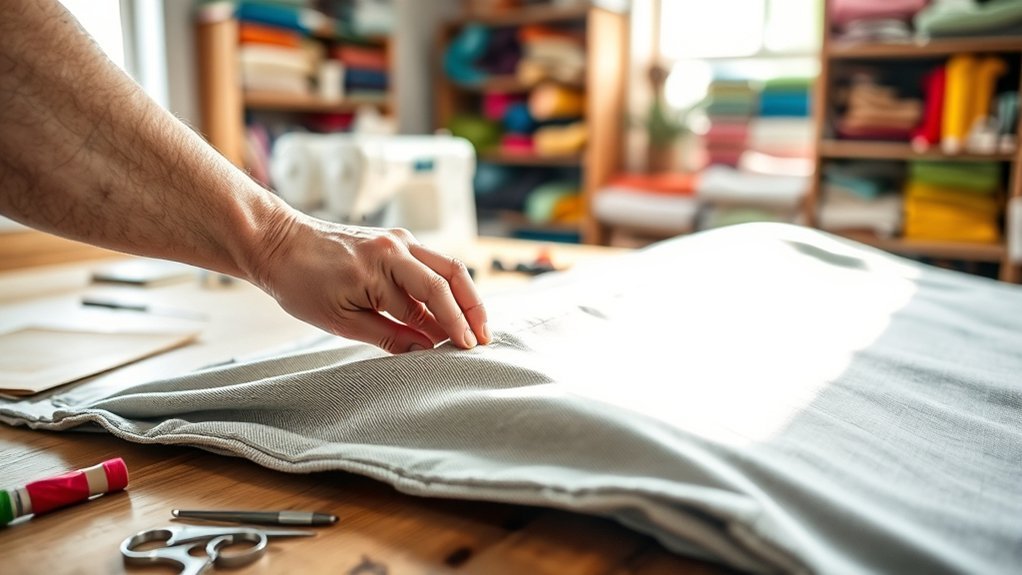
Preparing the New Window

When you’re ready to prepare the new window for your stroller canopy, make certain you’ve got everything set up for a smooth repair process. Start by cutting a piece of transparent plastic that’s larger than the window for easy sewing and snug fit. Don’t forget to check its thickness—durability is key! Turn the canopy upside down for better visibility and control. Leaving it on the frame helps maintain window alignment. Carefully remove the old plastic to keep the original stitching pattern, which will guide you in your sewing techniques.
| Step | Action | Purpose |
|---|---|---|
| 1. Cut Plastic | Use thick, pliable material | Guarantees durability |
| 2. Position Canopy | Leave on frame | Maintains alignment |
| 3. Remove Old | Preserve stitching pattern | Guides new window placement |
Securing and Sewing the New Plastic
Now that the new window is prepped, securing and sewing the plastic into place is the next step. Here’s how you can make it work seamlessly:
- Choose the Right Plastic: Verify you’ve cut a piece larger than the window area—this makes sewing easier and creates a secure fit.
- Pin It Down: Start from one side and work your way around, using pins to keep the plastic taut and prevent sagging.
- Follow the Original Stitches: When you sew, mimic the original sewing techniques for a neat finish. Remove pins gradually as you go to keep things smooth.
After sewing, double-check that the new window is secure, and clip any excess plastic for a polished look.
You’ve got this!
Final Touches and Inspection
After you’ve sewn the new plastic into place, it’s time to focus on those final touches that will guarantee your repair stands the test of time.
Start by clipping any excess material around the edges for a tidy finish. Then, conduct a thorough final inspection of the newly repaired window. Make sure there are no gaps or loose areas that could compromise functionality.
Check that it aligns well with the rest of the canopy, maintaining its shape for peak protection. Don’t forget to verify your stitches are secure and evenly spaced to withstand regular use.
Finally, take a moment for aesthetic considerations—assess the overall appearance and make sure it blends seamlessly with the original design. Your stroller deserves it!
Frequently Asked Questions
How Often Should I Inspect My Stroller Canopy?
You should inspect your stroller canopy regularly—ideally every month. Create a canopy maintenance schedule and use an inspection checklist to catch any issues early. Trust me, it saves you stress and keeps your outings enjoyable!
Can I Use Tape Instead of Sewing for Repairs?
Sure, you can use tape instead of sewing for repairs! About 70% of parents opt for temporary fixes like duct tape or fabric tape. Just remember, it’s a quick solution, not a long-term fix!
What Should I Do if the Damage Is Extensive?
If the damage’s extensive, consider exploring repair options or even replacement parts. I once found a great fabric store where I patched my stroller canopy—saved money and felt accomplished. You can totally do this, too!
Are There Professional Repair Services for Stroller Canopies?
Yes, you can definitely find professional repair service options for stroller canopies. Look for local shops or online services that specialize in baby gear—I’ve had great experiences with them! They can save you time and hassle.
How Can I Prevent Future Damage to the Canopy?
To prevent future damage to your stroller’s canopy, use protective covers when it’s not in use and regularly check for wear. Trust me, a little canopy maintenance goes a long way in keeping it safe!
Conclusion
Fixing your stroller canopy can feel like piecing together a jigsaw puzzle, but it’s totally doable! With a little patience and the right tools, you can breathe new life into your stroller. Remember, regular maintenance not only keeps your canopy looking great but also protects your little one from the elements. So, roll up your sleeves, follow these tips, and you’ll be back to strolling in style in no time! Happy repairing!