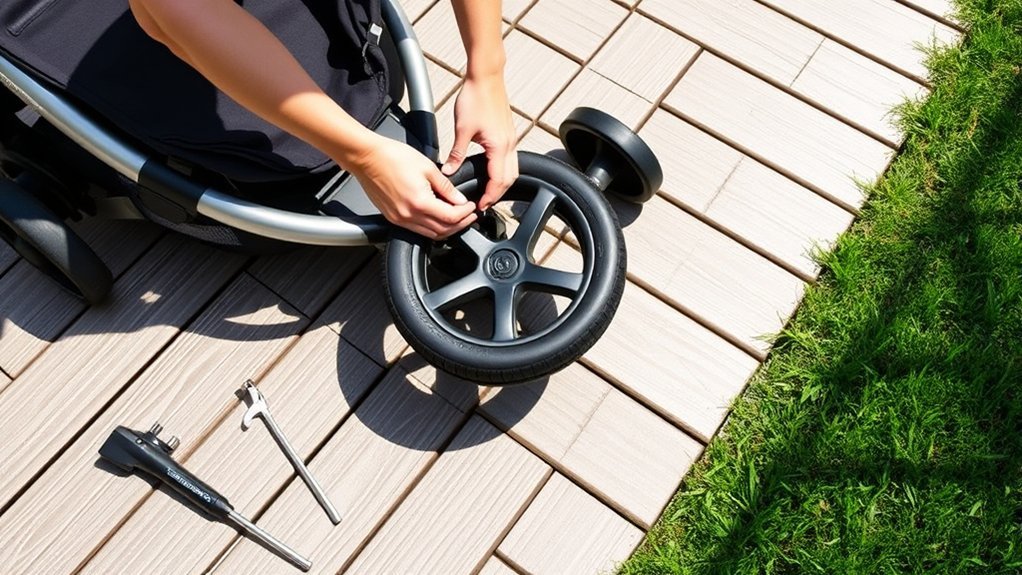
To replace a stroller inner tube, start by deflating the tire fully, removing the wheel if your stroller design allows it, and carefully working the tire bead off the rim. Take the old tube out, inspect the inside of the tire for thorns, glass, wire, or rough spots, then fit the new tube with the valve stem lined up correctly. Reseat the tire slowly, inflate to the recommended PSI printed on the tire sidewall or rim, reinstall the wheel, and test the stroller before using it with your child.
Quick Answer
A stroller inner tube replacement usually takes 15 to 30 minutes. Deflate the old tube, remove one side of the tire from the rim, inspect and clean the tire, insert the new tube, reseat the tire, inflate it to the marked PSI, and check that the wheel spins smoothly.
Key Takeaways
- Use the correct inner tube size for your stroller tire before starting the repair.
- Always inspect the inside of the tire for sharp debris before installing the new tube.
- Inflate the tube slightly before fitting it so it sits evenly and does not twist.
- Avoid pinching the tube between the tire bead and rim when reseating the tire.
- Check tire pressure, valve security, and wheel attachment before placing your child in the stroller.
At a Glance
| Time Required | 15 to 30 minutes for most stroller wheels |
| Difficulty | Easy to moderate, depending on tire tightness |
| Tools Needed | Correct inner tube, tire pump, tire levers or flat plastic tool, pressure gauge, safety glasses, cloth, and soapy water |
| Cost | Usually low if you replace only the inner tube yourself |
Tools and Materials Needed for Replacement
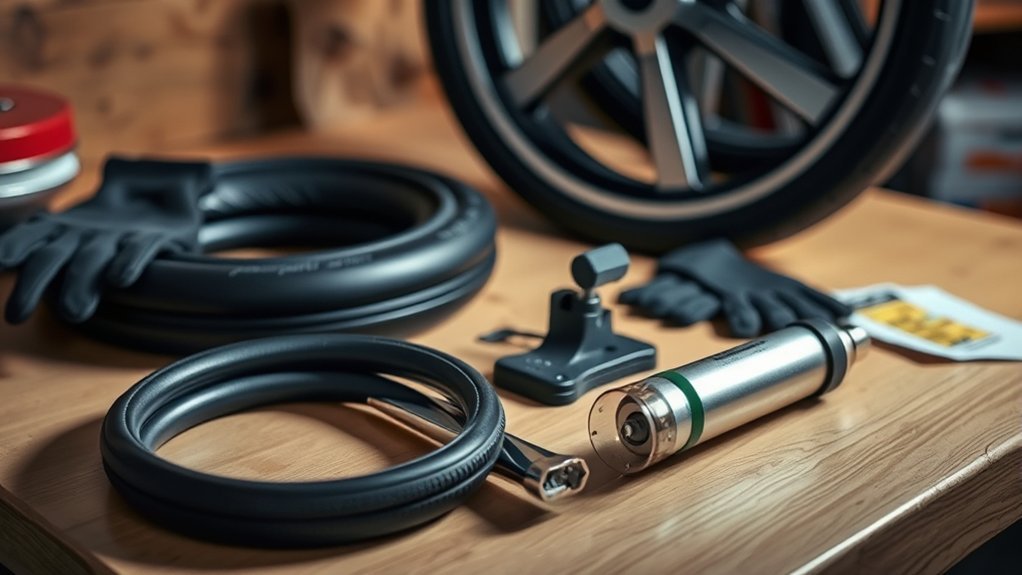
When you’re ready to replace the inner tube of your stroller, gather the right tools and materials first. Having everything nearby makes the job faster and helps prevent damage to the tire, rim, or valve stem.
Start with a replacement tube that matches the size printed on your stroller tire. Some parents call this a “BOB tire tube” when they have a BOB stroller, but the important point is size and valve compatibility. Match the tire diameter, tire width range, and valve type before you begin.
Begin with the correct inner tube for your stroller tire, then use a reliable pump and pressure gauge so the tire is inflated safely after installation.
You’ll also need a quality tire pump to ensure proper inflation after installation. A pump with a built-in gauge is helpful, but a separate pressure gauge is often more accurate.
Flat edge tools, such as plastic tire levers, are useful for prying the tire off the wheel. A flathead screwdriver can work in a pinch, but use it carefully because metal can scratch the rim or pinch the new tube. Don’t forget safety glasses to protect your eyes while working near pressurized rubber.
Additionally, a valve stem cap helps keep dirt and debris out of the valve when the stroller is not in use. A clean cloth, mild soapy water, and a small flashlight can also help you find hidden debris inside the tire.
Before installing the new inner tube, inspect the tire interior for foreign objects. This simple stroller maintenance step can prevent repeat flats and make the next ride safer and smoother.
Note: Inner tubes are not one-size-fits-all. Check the tire sidewall first, then buy a tube that lists the same tire size or a compatible size range.
Step-by-Step Guide to Deflating and Removing the Tire
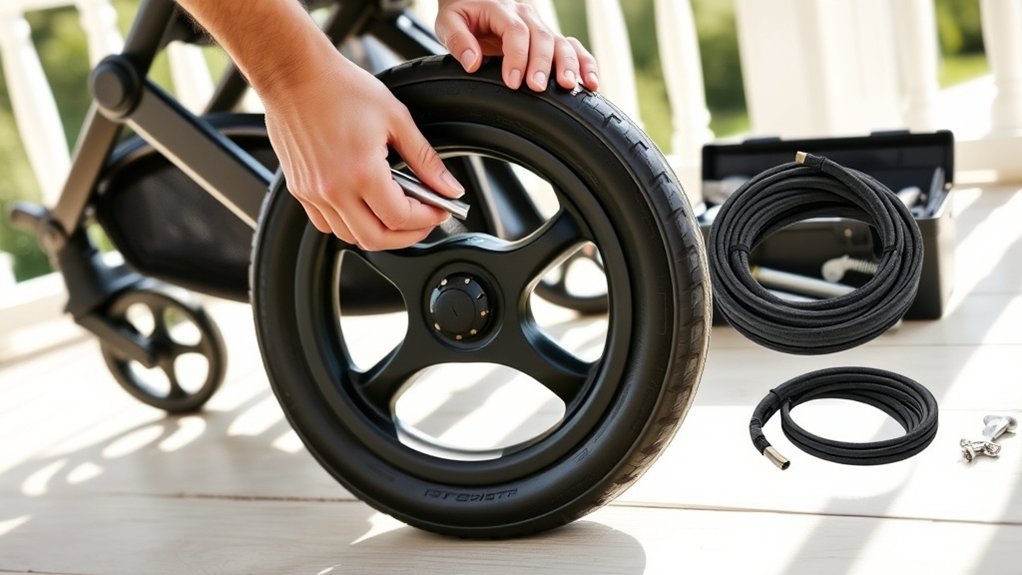
To start the process of replacing your stroller’s inner tube, you’ll first need to deflate and remove the tire. This reduces pressure on the tire bead and makes the wheel easier to work with.
Follow these steps for effective tire maintenance and better stroller safety:
- Remove the cap from the valve stem so you can access the inner tube valve.
- Deflate the inner tube by pressing down on the valve pin until all air is released.
- If the stroller wheel is removable, take it off the stroller according to your stroller’s wheel-release system.
- Starting at the wheel edge opposite the valve stem, use a flat edge tool or tire lever to carefully pry one side of the tire away from the rim.
- Continue working in four-inch increments around the wheel until one side of the tire is free enough to access the tube.
Once the tire is loose, locate the inner tube directly across from the valve stem and gently pull it out. Work slowly so you do not stretch, tear, or jam the valve stem in the rim hole.
This method gives you better control during the tube replacement and helps reduce the risk of damaging the stroller wheel.
Warning: Never try to remove a tire while the tube is still pressurized. Sudden air release can make the tire pop off the rim and may cause injury or damage.
How to Safely Remove the Inner Tube
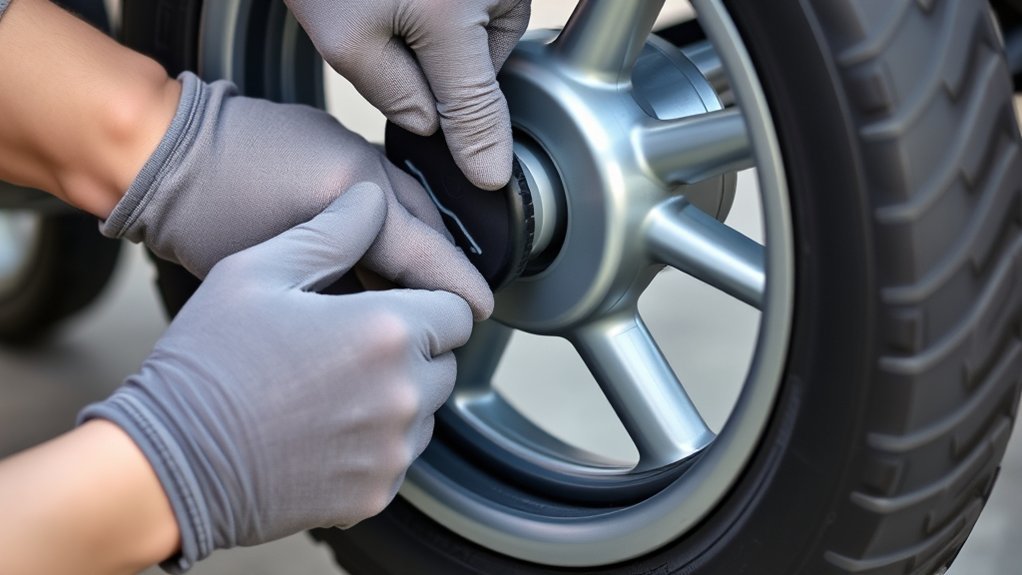
With the tire loosened, you’re ready to focus on safely extracting the inner tube. Start by confirming the tube is fully deflated. Remove the valve stem cap and press the valve pin again to release any trapped air.
Next, use a flat edge tool to pry the tire off the wheel only as much as needed. Begin at the edge opposite the valve stem and work in four-inch increments to prevent bending the rim or tearing the tire bead.
Once the tire is loose, locate the inner tube across from the valve stem and gently pull it out from between the tire and wheel. Do not yank the tube from the valve area first. Pulling too hard near the valve can damage the rim hole or tear the stem.
Finally, push the valve stem inward through the wheel rim hole and remove the inner tube completely. Set the old tube aside until you finish inspecting the tire, because the puncture location can sometimes help you find the sharp object that caused the flat.
This careful approach supports better inner tube maintenance and helps with tire puncture prevention for future rides.
Inspecting the Tire for Foreign Objects
Before installing a new inner tube, it’s vital to inspect the tire for any foreign objects that could lead to another puncture. Proper tire maintenance is important for puncture prevention and overall stroller safety.
Here’s how to inspect effectively:
- Examine the interior: Look for embedded items such as thorns, nails, glass, staples, wire, or small stones.
- Use a flashlight: A bright light helps reveal debris, cracks, or worn areas on the tire’s surface and edges.
- Check for sharp edges: Feel carefully around the inside of the tire and rim for hidden protrusions that could harm the new inner tube.
- Clean the tire: Remove dirt and mud, as these can hide puncture-causing objects.
- Compare the old tube: If you see a hole in the old tube, check the same area inside the tire for the object that caused it.
Regular inspection can prolong the life of your inner tube and help ensure a safer ride. If the tire itself is cracked, badly worn, or split, replacing only the tube may not solve the problem.
Pro Tip: Run a cloth slowly around the inside of the tire. If the cloth catches, there may be a tiny thorn, wire, or rough edge that your fingers missed.
Preparing the New Inner Tube for Installation
As you prepare to install the new inner tube, confirming it is the correct size for your stroller’s tire is essential. A tube that is too small may stretch too much, while one that is too large can fold or pinch inside the tire.
Inflate the inner tube slightly to give it shape. It should look rounded but still soft and flexible. This small amount of air makes positioning within the tire easier and helps prevent twisting.
Before installation, conduct a thorough valve stem inspection. Check for defects, cracks, bent metal, or damage around the rubber base of the valve. These issues can cause future leaks even if the rest of the tube is new.
Align the valve stem with the valve hole in the wheel rim before placing the tube fully inside the tire. A straight valve stem is important because a crooked stem can pull, leak, or tear while the stroller rolls.
Here’s a quick guide to confirm your inner tube’s readiness:
| Step | Action |
|---|---|
| Check Compatibility | Verify the tube size matches the tire size or approved size range |
| Inflate Slightly | Give the tube enough shape to sit evenly |
| Inspect Valve Stem | Look for cracks, bending, or damage |
| Align Properly | Match the valve stem with the rim hole |
| Check Tire Interior | Remove debris before placing the new tube inside |
These steps will lead to a smoother installation and a safer ride.
Properly Installing the New Inner Tube and Tire
Begin by positioning one edge of the new tire or existing tire bead over the wheel rim, ensuring it is seated properly. If you are only replacing the tube, you usually need to remove just one side of the tire from the rim.
Position one edge of the tire over the wheel rim first, then guide the tube into place without twisting or pinching it.
Follow these steps for a successful tire installation using quality inner tube materials:
- Inflate the new inner tube slightly to give it shape and help with proper positioning.
- Insert the valve stem straight through the valve hole in the rim.
- Carefully place the inner tube inside the tire, making sure it is not twisted.
- Reseat the inner tube inside the tire, avoiding any pinching between the tire and rim.
- Align the valve stem so it sits straight and remains easy to access later.
- Finally, reseat the second edge of the tire onto the rim, using your hands or a flat edge tool as needed for a secure fit.
When using a tool, keep it shallow and controlled. Do not push it deep between the tire and rim because that can puncture the new tube before you even inflate it.
These tire installation techniques help ensure a smooth ride and reduce the chance of another flat.
Tips for Ensuring a Secure Fit
To guarantee a secure fit when replacing your stroller’s inner tube, pay attention to a few key details during installation.
First, align the valve stem with the valve hole on the wheel rim to help prevent leaks and stem damage. The stem should point straight out, not lean sharply to one side.
Confirm the inner tube is inflated to the manufacturer’s recommended pressure after the tire is fully seated. Proper pressure helps prevent bulging, poor handling, and blowouts.
When reseating the tire, work in four-inch increments to avoid pinching the tube between the tire and rim. Pinching is one of the most common reasons a new tube goes flat soon after installation.
After securing the tire, double-check that the inner tube is evenly seated for a smooth ride and minimal wear. Look around both sides of the rim to confirm the tire bead sits evenly.
Finally, inspect the tire and tube for debris, crooked valve placement, and uneven tire shape. Proper tube maintenance is essential for safe stroller performance.
Note: If part of the tube is visible outside the tire bead, stop and deflate it. Reseat the tube and tire before inflating again.
Final Inflation and Pressure Checks
Now that the inner tube is in place, it’s time for final inflation and pressure checks.
Inflate the tube to the recommended pressure printed on the tire sidewall or rim, using a tire pressure gauge for accuracy. Do not guess by squeezing the tire alone, because small stroller tires can feel firm even when they are underinflated.
After you’ve inflated it, replace the valve stem cap and push the stroller forward and back to verify everything is secure before normal use.
Recommended Pressure Levels
Checking the recommended pressure levels is crucial for ensuring your stroller operates safely and efficiently. Proper tire pressure improves handling, reduces tube wear, and supports a smoother ride.
Follow these steps to maintain ideal pressure:
- Check the tire sidewall or rim for the recommended PSI. Many air-filled stroller tires fall within a moderate PSI range, but the exact number depends on the tire.
- Use a reliable tire pressure gauge to get accurate readings before and during inflation.
- Inflate gradually, stopping to check the pressure periodically to avoid over-inflation.
- Recheck after installation to verify the pressure has not dropped.
Regularly monitoring your stroller’s tire pressure prevents handling issues and helps ensure a smooth ride.
Inflation Techniques Explained
Understanding the proper inflation techniques is essential for ensuring your stroller’s inner tube is ready for use.
Start by checking the recommended pressure on the tire rim or sidewall, typically marked in PSI or BAR. Use reliable inflation methods to gradually inflate the inner tube, making sure it takes shape and fits evenly within the tire.
Pause halfway through inflation and inspect both sides of the tire. The bead should sit evenly around the rim, and there should be no bulges, dips, or exposed tube.
Monitor the pressure with a gauge to avoid over-inflation that can damage the tire or tube. Once inflated to the correct pressure, check the valve stem for leaks by applying a small amount of soapy water; bubbles can indicate escaping air.
Finally, after reinstalling the tire, give the stroller a gentle push to verify everything functions properly and the tire is securely seated.
Regular tire maintenance helps keep rides smooth and safe.
Safety Checks After Inflation
How can you guarantee your stroller’s inner tube is safe and ready for use after inflation? Conducting thorough safety checks is essential.
Here’s what to do:
- Check PSI: Verify the pressure against the recommended PSI noted on the tire rim or sidewall for proper performance.
- Inspect Valve Stem: Look for damage, crooked placement, or leaks before sealing it with the cap.
- Squeeze the Tire: Gently press the tire to check for bulges or unevenness, which may signal improper installation.
- Visual Inspection: Examine the tire’s surface and sidewalls for wear, punctures, cracks, or foreign objects.
- Spin the Wheel: Rotate the wheel and watch for wobbling, rubbing, or uneven seating.
Reinstalling the Wheel Onto the Stroller
To reinstall the wheel onto the stroller, start by carefully aligning it with the axle to guarantee a secure fit.
Once aligned, engage the quick-release mechanism or locking system to hold the wheel in place effectively. Some strollers use a push-button axle, some use a quick-release lever, and others use a nut or fixed axle design.
This step is vital for safety, so make certain the wheel is firmly secured before moving on.
Aligning Wheel With Stroller
When reinstalling the wheel onto the stroller, properly aligning it is essential for safe and smooth operation.
Follow these wheel alignment tips to guarantee everything functions correctly:
- Position the axle through the stroller’s wheel mount before securing it.
- Engage the quick-release mechanism firmly to lock the wheel in place and prevent wobbling.
- Tighten the tension adjusting nut until it is finger tight if your stroller uses this style of mechanism. Avoid over-tightening because it can damage parts or stop the wheel from spinning freely.
- Check that the wheel spins freely without rubbing or obstruction.
After reinstalling, perform stroller stability checks by pushing the stroller forward and back.
This confirms the wheel aligns with the stroller frame and helps you navigate smoothly.
Securing Quick-Release Mechanism
Securing the quick-release mechanism is essential for ensuring your stroller’s wheel is firmly attached and safe to use.
Start by making sure the wheel is properly seated in the dropouts or wheel mount. Engage the quick-release lever by pulling it outward and pushing it down until it sits flush with the frame or locks according to your stroller’s design.
Next, adjust the tension by turning the nut on the opposite side until it feels finger tight, ensuring wheel stability and preventing wobbling.
After securing the quick-release, push the stroller forward and backward to check for any play in the wheel. Lift the stroller slightly and gently tug the wheel to confirm it does not slide out.
Regularly inspect the quick-release mechanism for wear or damage, as maintaining quick release safety is vital for a smooth, safe stroll.
Performing a Functionality Test After Replacement
After replacing the inner tube, it is important to perform a functionality test to verify everything is working correctly. This step provides essential feedback and helps you spot potential issues before using the stroller with your child.
Follow these troubleshooting tips:
- Push the stroller forward and back to ensure the wheel rotates smoothly and is properly seated.
- Listen for unusual noises, rubbing, clicking, or resistance, which may indicate incorrect installation.
- Confirm the tire pressure is at the recommended level printed on the tire rim or sidewall.
- Inspect the valve stem to make sure it is securely positioned and not leaking air.
- Check that the wheel lock, brake, or quick-release system is fully engaged.
- Place light pressure on the stroller handle and turn the stroller left and right to test handling.
If the stroller pulls to one side, the tire looks uneven, or the wheel wobbles, stop and recheck the installation before normal use.
Common Mistakes to Avoid
Replacing a stroller inner tube is simple, but a few small mistakes can cause another flat or create a safety issue. Avoid these problems during the repair:
- Buying the wrong tube size: Always match the tube to the tire size printed on the tire.
- Skipping the tire inspection: If the thorn or glass remains inside the tire, the new tube may puncture right away.
- Using sharp tools aggressively: Metal tools can pinch the tube or damage the rim if pushed too far.
- Over-inflating the tire: Too much pressure can damage the tube, tire, or rim.
- Leaving the valve stem crooked: A crooked stem can tear at the base and leak air.
- Forgetting the final wheel check: Always confirm the wheel is locked before putting your child in the stroller.
Troubleshooting After Replacing the Inner Tube
If the stroller tire still does not hold air after replacement, do not assume the new tube is defective right away. Work through the most common causes first.
| Problem | Likely Cause | What to Do |
|---|---|---|
| Tire goes flat immediately | Tube was pinched during installation | Remove the tire, inspect the tube, and reinstall carefully |
| Slow air leak | Valve issue or tiny puncture | Use soapy water to check for bubbles around the valve and tube |
| Bulge in tire | Tire bead not seated evenly | Deflate, reseat the bead, and inflate gradually |
| Wheel wobbles | Wheel not locked or aligned correctly | Reinstall the wheel and check the axle or quick-release mechanism |
| Valve stem leans | Tube shifted inside the tire | Deflate, realign the tube, and inflate again |
When to Replace the Whole Tire Instead
Sometimes replacing the inner tube is not enough. The outer tire also needs attention because it protects the tube from the ground, debris, and friction.
Consider replacing the tire if you notice:
- Deep cracks in the rubber
- Exposed fabric, cords, or casing
- A split sidewall
- Flat spots or severe tread wear
- A tire bead that will not stay seated on the rim
- Repeated flats even after installing the correct tube
A new tube works best inside a tire that is clean, flexible, and structurally sound. If the tire is damaged, the stroller may still feel unstable even with a fresh inner tube.
Frequently Asked Questions
How often should I replace my stroller’s inner tube?
You should replace your stroller’s inner tube when it leaks, has visible damage, no longer holds air, or has been patched too many times. With regular use, many parents inspect the tube and tire every few months and replace the tube as needed rather than on a fixed schedule.
Can I patch a damaged inner tube instead of replacing it?
Yes, you can patch a small puncture using a proper tube patch kit. However, a patch is usually best as a temporary or budget-friendly fix. Replace the tube if the puncture is large, near the valve stem, on a seam, or if the tube has multiple leaks.
What size inner tube do I need for my stroller?
To find the right inner tube size, check the tire sidewall for markings such as diameter and width. Choose a tube that matches that size or lists your tire size within its compatible range. Also make sure the valve type fits your stroller rim.
Is it safe to use a different brand’s inner tube?
Using a different brand can be safe if the tube size, valve type, and pressure range are compatible with your stroller tire and rim. Do not choose a tube only because it looks close. The fit needs to match the tire specifications.
What should I do if the tire keeps going flat?
If your tire keeps going flat, check the air pressure, valve stem, tire interior, rim edge, and outer tire condition. A hidden thorn, sharp rim edge, cracked tire, loose valve, or pinched tube can all cause repeat flats.
Can I replace a stroller inner tube without removing the wheel?
Sometimes you can, but removing the wheel usually makes the job easier and safer. A loose wheel gives you better access to the tire bead, valve stem, and rim, which lowers the chance of pinching the new tube.
Why does my new stroller tube leak after installation?
A new tube may leak if it was pinched by the tire bead, installed twisted, damaged by a tool, fitted with a crooked valve stem, or punctured by debris left inside the tire. Deflate the tire, remove the tube, and inspect each part carefully.
Conclusion
In the grand scheme of stroller maintenance, replacing an inner tube is a small task that can make everyday walks easier and safer. By using the correct tube size, checking the tire for debris, seating the tube carefully, and inflating to the proper pressure, you can prevent repeat flats and keep the stroller rolling smoothly.
Before your next outing, give the wheel a final spin, check the valve stem, test the brake or wheel lock, and push the stroller a short distance. A well-maintained stroller not only improves your child’s comfort but also gives you more peace of mind on daily walks, errands, and family trips.