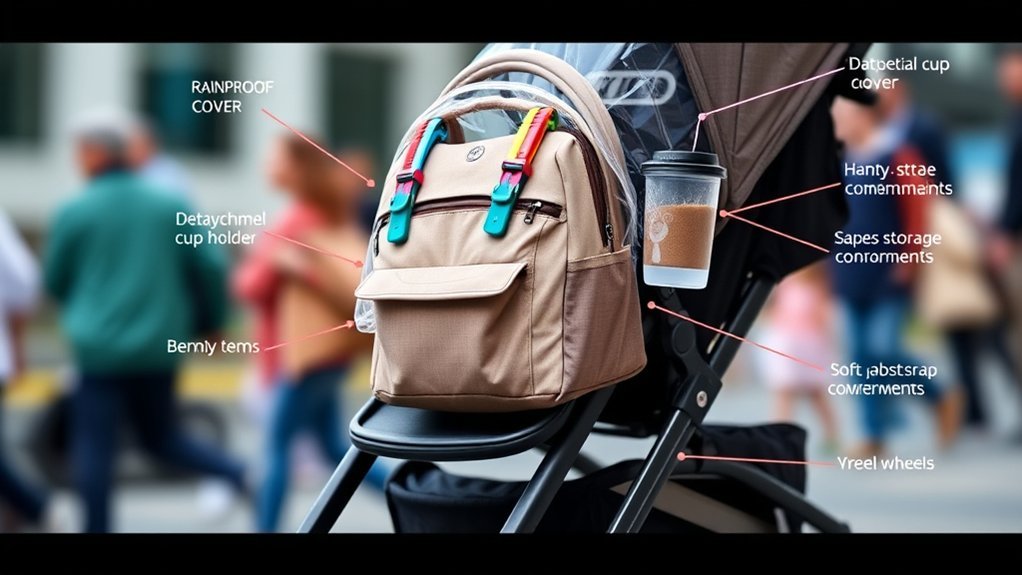

Pushing a stroller that constantly veers to the left or right turns a pleasant neighborhood walk into an exhausting arm workout. When your stroller starts pulling to one side, the underlying cause is typically uneven tire pressure, debris tangled around the wheel bearings, a misaligned front swivel lock, loose chassis hardware, or a bent axle rod.
Quick Answer
To fix a stroller pulling to one side, first inflate air-filled tires to equal pressure (recommended PSI) and clear hair or grit from the front wheel housings. Next, tighten all chassis screws, release jammed swivel locks, and balance your cargo weight. If the metal axle is bent, gently realign it using a hollow metal pipe for leverage while monitoring straight-line tracking on a flat surface.
Key Takeaways
- Start with non-invasive checks: Verify tire inflation, remove hair and debris from wheel axles, and inspect front swivel wheel locks before attempting physical axle bending.
- Secure chassis hardware: Loose screws behind wheel housings cause frame flex and tracking misalignment.
- Use incremental adjustments: When using leverage to straighten a bent axle bar, apply minor pressure and test on a flat surface after every tweak.
- Prevent future pulling: Distribute diaper bag weight evenly across the handlebar or under-seat basket, and lubricate wheel bearings regularly with silicone spray.
At a Glance
| Time Required | 15 to 30 minutes |
| Difficulty | Beginner to Intermediate |
| Tools Needed | Screwdriver, Wrench, Tire Pressure Gauge, Straight Steel Pipe (1-2 in diameter), Dry Silicone Spray Lubricant |
| Estimated Cost | $0 – $15 (using basic household tools and lubricant) |
Understanding the Steering Issue
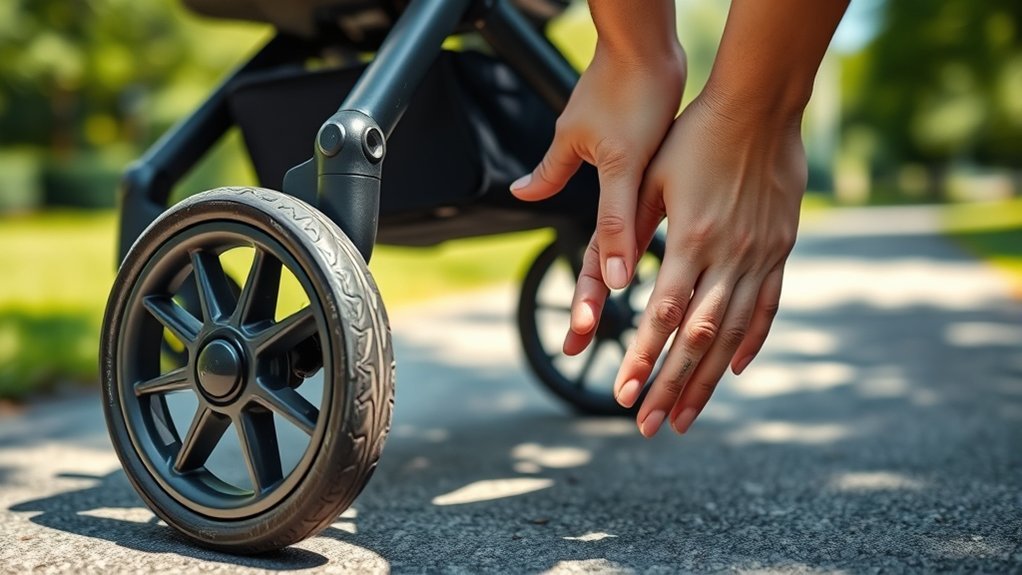
When you notice your stroller pulling to one side, it can turn an enjoyable stroll into a frustrating chore. Steering misalignment usually stems from simple mechanical issues: pneumatic tire pressure imbalance, hair or dirt buildup inside the wheel bearings, a loose chassis screw, or a slightly bent axle bar running across the stroller frame.
Before jumping into physical axle adjustments, it is vital to systematically inspect your stroller. Identifying whether the pull comes from wheel friction, frame slack, or a bent axle bar saves time and prevents unnecessary wear on your gear.
Over 70% of stroller steering complaints stem from simple tire pressure variance or hair wrapped around wheel axle bearings rather than structural frame damage.
Common Root Causes of Stroller Steering Pull
Before grabbing heavy tools, diagnose which of these common issues is causing your stroller to drift:
- Uneven Tire Pressure: On all-terrain and jogging strollers equipped with pneumatic (air-filled) tires, even a 3–5 PSI difference between the left and right tires causes heavy pulling toward the under-inflated side.
- Hair and Dirt Trapped in Bearings: Pet hair, carpet fibers, sand, and dried mud wrap around quick-release axles, creating drag on one wheel.
- Engaged or Jammed Swivel Lock: Many strollers feature front wheel locks for jogging or rough terrain. If one wheel lock pin engages while the other swivels freely, the stroller will veer sharply.
- Chassis Screw Slack: Loose hardware behind the rear wheel housings lets the frame twist out of alignment under load.
- Uneven Weight Distribution: Heavy diaper bags hung off one side of the handlebar create asymmetrical downward pressure.
- Bent Axle Bar: Physical impact from folding, trunk storage, or curb drops can subtly bend solid metal axle rods.
Tools You’ll Need for Adjustments
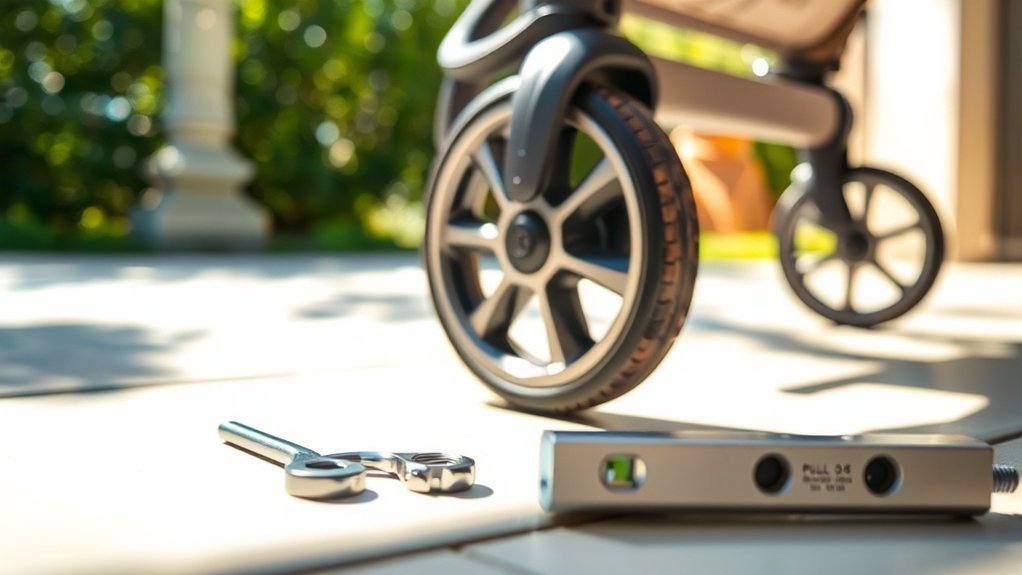
Having the proper tools ready guarantees a smooth, safe repair process without damaging your stroller’s finish or wheel housings.
Essential Tools Overview
Here is a quick breakdown of the primary tools and materials needed for stroller steering alignment:
| Tool | Purpose | Key Tips |
|---|---|---|
| Straight Metal Pipe | Provides controlled leverage for straightening solid metal axles | Use a 1-2 inch thick pipe; avoid plastic tubing |
| Wrench & Screwdriver | Wheel removal and chassis hardware tightening | Select precise bit sizes to avoid stripping screw heads |
| Tire Pressure Gauge | Verifying equal PSI in pneumatic tires | Consult tire sidewall for recommended max PSI |
| Dry Silicone Spray | Lubricating wheel hubs and swivel joints | Avoid grease or oil-based lubricants that attract dirt |
| Flat Surface | Testing roll tracking after each adjustment | Use smooth concrete, hardwood, or tile floor |
Recommended Pipe Types
If axle straightening is necessary, selecting the right pipe is essential. Look for a sturdy steel or iron pipe, ideally 1 to 2 inches in diameter and 12 to 18 inches long. The length gives you smooth, controlled leverage so you do not over-bend the rod.
Note: Avoid plastic PVC pipes or thin aluminum tubes. They flex under load and fail to provide the firm, steady pressure required to adjust steel axle bars.
Safety Gear Importance
Always prioritize safety when performing mechanical repairs on baby gear:
- Wear durable mechanic gloves to protect your hands and ensure a firm grip when applying leverage.
- Put on safety goggles to shield your eyes from unexpected snaps or flying debris when working near wheel clips and springs.
- Always perform work with the child removed from the stroller seat.
Initial Non-Invasive Steps to Take

Follow these quick, non-destructive checks before attempting physical metal adjustments on your stroller chassis.
1. Check Tire Pressure and Clean Bearings
For air-filled tires, attach a standard bicycle tire gauge to check PSI on both sides. Inflate both tires to the exact manufacturer specification printed on the tire sidewall. Next, pop off quick-release wheels and use needle-nose pliers or scissors to cut away any hair, string, or grass caught around the axle shaft. Spray the axle pins with a 100% dry silicone lubricant spray.
Pro Tip: Never use standard oil-based WD-40 on stroller wheel bearings. Standard oil leaves a sticky residue that attracts dirt, sand, and hair, quickly causing wheels to lock up again.
2. Check Screw Tightness and Chassis Hardware
Loose chassis screws cause subtle frame twisting under load, making the stroller drift toward the side with more slack. Grab a screwdriver and follow these maintenance steps:
- Inspect all mounting screws on the chassis, specifically behind the rear wheel housings.
- Tighten any loose screws to secure the rear axle housing to the main frame.
- Check the front swivel wheel housing brackets for loose rivets or bolts.
- Incorporate screw checks into your bi-monthly stroller maintenance schedule.
3. Assess Steering Direction and Swivel Locks
Place your empty stroller on a smooth, flat floor (such as a garage or hallway). Push the stroller straight ahead with light force from the center of the handlebar. Observe the drift:
- If it veers immediately, inspect the front swivel lock mechanisms to ensure both wheels are set to the same mode (either both locked straight or both fully swiveling).
- If the drift is slow and gradual, check for uneven cargo weight or minor axle misalignment.
Adjusting and Straightening Stroller Axles
If cleaning, inflating tires, and tightening screws do not solve the pull, inspect the exposed metal axle rod for curvature.
Warning: Only attempt leverage adjustments on solid steel axle rods. Modern lightweight strollers made with hollow aluminum alloy or carbon composite frames should never be bent with a pipe, as this will fracture the chassis and void your warranty. Check your manufacturer manual before applying bending force.
To straighten a solid metal axle:
- Remove the wheel on the side toward which the stroller is veering.
- Slide your straight metal pipe over the exposed axle shaft until it sits flush against the frame mount.
- Gently apply firm pressure in the direction opposite to the stroller’s pull. Apply force incrementally—micro-adjustments are much safer than large bends.
- Reinstall the wheel and re-test tracking on a flat surface.
Testing Tracking and Fine-Tuning Alignment
Never perform multiple bends in a row without testing. Always test tracking immediately after each minor tweak.
Importance of Testing on a Straight Track
To get clear feedback on your adjustments:
- Use a Level Surface: Find a hallway, driveway, or polished sidewalk. Avoid sloped street gutters which naturally pull strollers to the side.
- Push from Center: Use one hand positioned in the exact center of the handlebar to eliminate pushing bias.
- Observe Distance Tracking: Let the stroller roll freely for 10–15 feet and measure how far off-center it strays.
- Iterate Slowly: Repeat tiny axle adjustments until the stroller tracks straight over a 15-foot roll.
Conducting a Real-World Test Walk
Once your stroller passes indoor hallway tests, take it on a longer walk over varied outdoor terrain. Test how it handles sidewalk cracks, pavement transitions, and grass.
| Test Scenario | Observation | Action Needed |
|---|---|---|
| Flat Sidewalk Roll | Drifts right within 5 feet | Check right wheel bearing for hair; tweak right axle leftward |
| Pavement Bump Impact | Front wheel wobbles or locks | Tighten front swivel housing nut; apply silicone spray |
| Loaded Diaper Bag Walk | Pulls left only when bag is hung | Rebalance diaper bag into lower cargo basket center |
| 15-Foot Smooth Roll | Tracks straight with zero drift | Adjustment complete! No further tweaks needed |
Common Mistakes to Avoid
Avoid these frequent pitfalls when troubleshooting stroller steering issues:
- Skipping Simple Tire Pressure Checks: Overlooking unequal tire inflation leads people to bend perfectly straight metal axles unnecessarily.
- Over-Bending Axles: Applying excessive force can warp axle rods permanently or crack chassis brackets. Always work in micro-adjustments.
- Using Sticky Lubricants: Applying grease or standard petroleum lubricants attracts dirt, pet hair, and sand into bearing cartridges.
- Ignoring Weight Balance: Hanging heavy purses, diaper bags, or grocery sacks on one handlebar side forces any stroller to pull off-course.
Seeking Additional Help and Manufacturer Resources
If your stroller continues pulling after working through these troubleshooting steps, the frame itself may be structurally warped or internal wheel bearings may need replacement.
Most premium brand manufacturers—such as UPPAbaby Support, Chicco Customer Care, and BOB Gear Service Guides—offer replacement wheel assemblies, axle pins, and frame components under warranty. Refer to guidelines from the Juvenile Products Manufacturers Association (JPMA) to ensure all replacement hardware maintains full child safety standards.
Frequently Asked Questions
Can I fix a stroller pulling issue without professional help?
Yes. Most stroller pulling issues are easily fixed at home by equalizing tire pressure, clearing hair and debris from wheel bearings, tightening loose chassis screws, or rebalancing cargo weight. Physical axle bending is only required if a solid metal axle rod has been visually bent.
How long will stroller alignment adjustments typically take?
Basic maintenance—such as checking tire pressure, cleaning hair from axles, and tightening screws—takes 10 to 15 minutes. Performing axle alignment adjustments with a leverage pipe typically takes 20 to 30 minutes including straight-line roll testing.
What if my stroller is still pulling after adjustments?
If the stroller still pulls after checking tire pressure, cleaning bearings, tightening hardware, and adjusting axles, the wheel bearings may be worn out or the main frame tubing may be warped. Contact the stroller manufacturer to order a replacement wheel assembly or replacement front fork fork unit.
Are there any safety concerns during adjustments?
Yes. Always remove your child from the stroller before performing maintenance. Wear mechanic gloves and eye protection when applying leverage to metal axles. Never force or bend hollow aluminum or carbon chassis tubes, as structural failure could occur during use.
How often should I check my stroller’s alignment and wheel setup?
Perform a quick wheel alignment and tire pressure check monthly. If you regularly walk on beach sand, gravel paths, or off-road trails, inspect wheel housings and apply dry silicone lubricant bi-weekly to prevent debris buildup.
Conclusion
Addressing a stroller that pulls to one side does not have to be a frustrating endeavor. By systematically checking pneumatic tire pressure, cleaning hair and debris from wheel hubs, tightening chassis screws, and carefully adjusting bent solid metal axles, you can restore smooth, effortless tracking. Regular maintenance guarantees comfortable, stress-free walks for both you and your little one.
Sources
- Juvenile Products Manufacturers Association (JPMA) — Stroller safety standards and structural chassis integrity guidelines
- UPPAbaby Official Support — Stroller wheel maintenance, bearing care, and quick-release assembly instructions
- BOB Gear Service Manuals — Pneumatic tire pressure (PSI) balancing and swivel lock tracking alignment
- Chicco Customer Care — Chassis hardware maintenance and stroller troubleshooting guides