Correct pram tire pressure helps your stroller roll smoothly, steer predictably, and protect its tires and wheels from avoidable damage. Strollers do not share one universal PSI. Before adding air, check the stroller manual or wheel label, read the wording on each tire sidewall, and identify whether the printed number is a recommended pressure, an approved range, or a maximum limit.
Quick Answer
Use the pressure specified in your stroller manual or on its wheel label. Check the tire sidewall to confirm the permitted range and maximum, but do not assume a number marked “max” is the ideal target. Measure with a gauge, add air slowly, and recheck before long walks, jogging, or rough-terrain use.
Key Takeaways
- Follow the stroller manual or wheel label before relying on a general PSI figure.
- Treat a sidewall number marked “maximum” as a ceiling, not automatically as the target pressure.
- Only pneumatic, air-filled tires need inflation. Solid and foam-filled wheels do not.
- Use a compatible hand or bicycle pump with a readable pressure gauge.
- Check pressure regularly and before jogging, long outings, travel, or rough terrain.
- Stop using a tire with a bulge, exposed material, damaged bead, or badly cracked sidewall.
At a Glance
| Time Required | 5–10 minutes |
| Difficulty | Easy |
| Tools Needed | Compatible hand or bicycle pump with a pressure gauge |
| Cost | Usually free if you already own a gauge pump |
Understanding Pram Tire Pressure Ratings
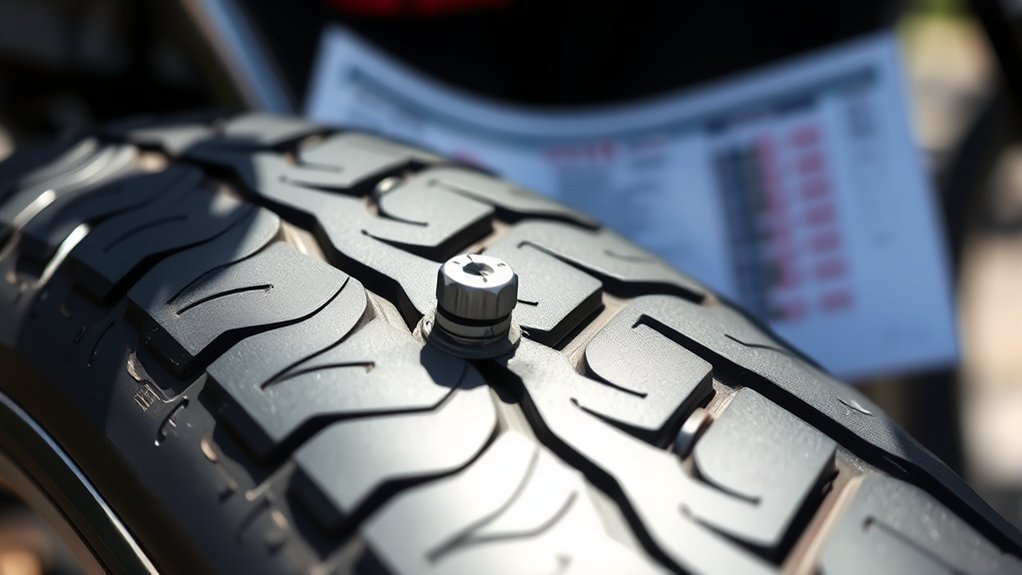
Pressure guidance may appear in your stroller manual, beside the wheel, or on the tire sidewall. Read the wording around the number before connecting a pump.
PSI means pounds per square inch. Bar is another pressure unit commonly printed on tires and pumps. One Bar is about 14.5 PSI, but you normally do not need to calculate anything when your pump shows both scales.
Air-filled stroller tires vary by model. For example, the Thule Urban Glide 3 uses large air-filled tires, while other strollers use smaller pneumatic wheels, foam-filled tires, or completely solid wheels. Pressure advice for one design should not be copied to another.
The safest pressure is the model-specific target or range approved by the stroller manufacturer, while the tire’s marked maximum remains a limit you must not exceed.
Which Pressure Number Should You Use?
Use this order when several markings are available:
- Check the stroller manual or wheel label. This is normally the best source for the original wheel-and-tire setup.
- Read the complete sidewall wording. Look for an operating range, an “inflate to” value, or a maximum.
- Stay below the lowest applicable maximum. The tire, tube, rim, and stroller wheel must all tolerate the chosen pressure.
- Ask the manufacturer when guidance is missing or contradictory. Provide the stroller model, wheel size, tire size, and any replacement-part details.
If the manual gives a target below the tire’s maximum, follow the manual. If the manual appears to require more pressure than the tire permits, do not inflate the tire until the stroller manufacturer confirms that the tire is compatible.
Before You Inflate: Identify the Tire and Valve
First, confirm that the stroller has pneumatic tires. An air-filled tire has a valve stem through the rim and usually feels slightly flexible when pressed. Solid rubber and foam-filled wheels have no usable inflation valve and should not be punctured or modified.
Next, inspect the valve. Many stroller tubes use a wider Schrader-style valve similar to a car tire. Some wheels may use a narrower valve or a model-specific fitting. Choose a pump head that matches the valve and never force an incompatible connector onto it.
Note: Replacement wheels or tubes may have different markings from the original parts. Confirm that every replacement matches the stroller manufacturer’s approved size, valve type, load, and pressure limits.
How to Check Your Pram Tire Pressure
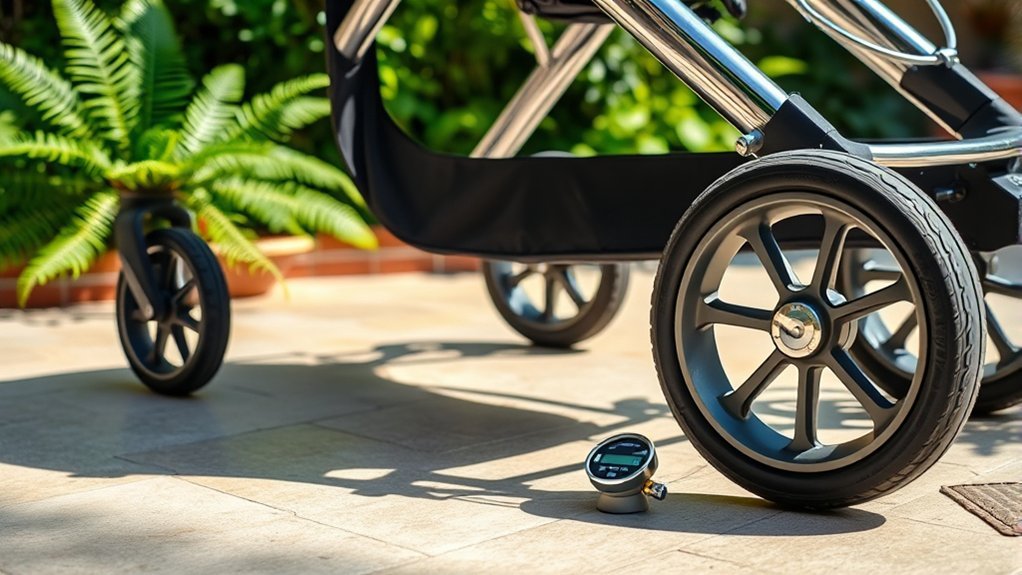
Check the tires when they are cool and before placing your child in the stroller. Small tires respond quickly to each pump stroke, so work slowly and watch the gauge throughout the process.
- Park safely. Place the empty stroller on a flat surface and engage the parking brake.
- Inspect the wheel. Look for cracks, bulges, embedded objects, a crooked valve, or a tire bead lifting away from the rim.
- Find the approved pressure. Check the manual or wheel label, then confirm the tire’s range and maximum.
- Remove the valve cap. Keep it somewhere clean so it does not collect grit.
- Attach the gauge or pump straight. A crooked connection can release air or strain the valve stem.
- Read the current pressure. Measure before adding air so you can identify a possible slow leak.
- Inflate in small strokes. Pause frequently and stop at the approved target.
- Recheck after removing the pump. A small amount of air may escape when the connector is released.
- Replace the cap and test the wheel. Spin the wheel, confirm it is secure, and make sure the stroller tracks normally before carrying your child.
Locate the Correct Pressure Rating
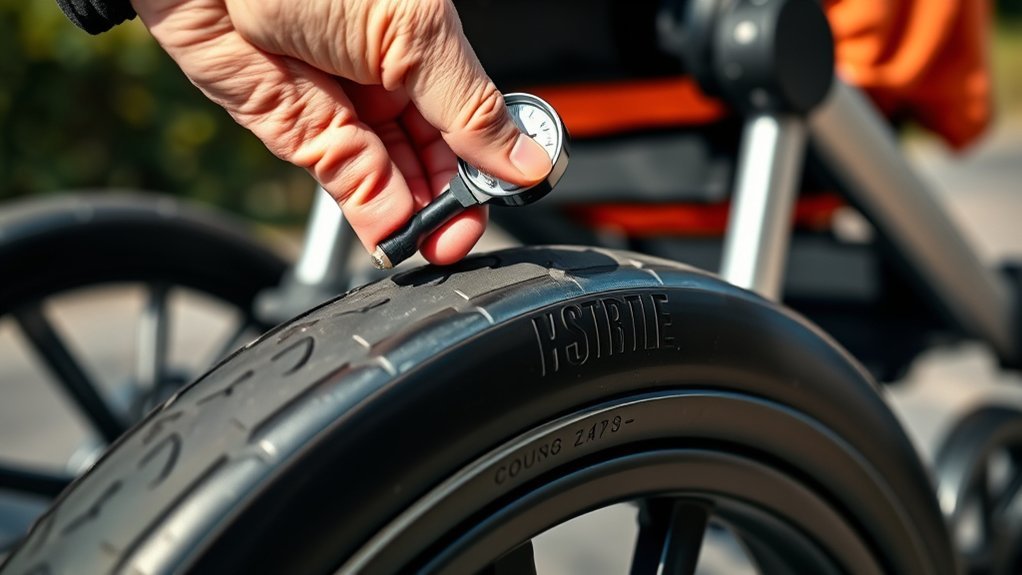
A tire sidewall can contain several numbers, including tire size, load information, and pressure. Read the words surrounding the pressure rather than copying the largest number you see.
| Marking or Source | What It Means | What You Should Do |
|---|---|---|
| Stroller manual or wheel label | Model-specific operating guidance | Use this as the primary target for approved original parts. |
| “Inflate to” followed by PSI or Bar | A stated inflation value | Confirm it agrees with the stroller instructions before use. |
| Pressure range | Permitted lower and upper values | Stay within the range and follow the stroller’s preferred target. |
| “Max,” “maximum,” or “do not exceed” | A safety ceiling | Never exceed it. Do not assume it is the ideal target. |
| Unreadable or missing guidance | The safe target cannot be confirmed | Contact the manufacturer instead of guessing. |
Check each wheel individually. Front and rear tires may use the same pressure, but some stroller designs specify different values because their wheel sizes or loads differ.
Use a Pressure Gauge Correctly
A pump with a built-in gauge lets you measure and inflate without repeatedly changing tools. A separate gauge also works when it fits the valve and covers the stroller’s pressure range.
Push or lock the pump head onto the valve in a straight line. A continuing hiss usually means the connector is not sealed. Remove it, check the pump setting, and reconnect without bending the valve stem.
Watch the gauge after each few strokes. Small stroller tubes have limited air volume and can gain pressure faster than a bicycle or car tire. Stop as soon as you reach the approved value.
Pro Tip: Measure the pressure before pumping and note the result. If the same tire repeatedly loses a noticeable amount of air, investigate the valve, tube, tread, and bead instead of simply topping it up.
Benefits of Maintaining Correct Tire Pressure
Correct pressure helps the tire support the stroller’s load without excessive squashing or stiffness. You may notice several practical improvements:
- Easier pushing: Properly supported tires reduce avoidable deformation and rolling effort.
- More predictable steering: Matching left and right pressures helps the stroller track straight.
- Better cushioning: The approved pressure allows the pneumatic tire to absorb normal surface changes without feeling flat or rock hard.
- Lower pinch-flat risk: Adequate pressure helps stop the tube from being trapped between the rim and tire during an impact.
- More even tire wear: Correct inflation helps the tread and sidewall carry the load as designed.
- Clearer problem detection: Regular gauge readings make slow leaks easier to notice.
Even pressure does not mean copying one number to every wheel. It means setting each tire to the value approved for its position and configuration.
Consequences of Incorrect Tire Pressure
Underinflation can make a stroller harder to push and may cause the tire to fold or compress too far over bumps. This increases the chance of a pinch flat, valve movement, rim contact, and unstable steering.
Overinflation can produce a harsh ride and place unnecessary stress on the tire, tube, bead, rim, or wheel assembly. It also leaves less cushioning for rough pavement and trail impacts.
Uneven pressure between matching left and right wheels can make the stroller pull to one side. Before adjusting wheel alignment or replacing parts, compare both tires with the same gauge.
Excess cargo can make any pressure problem worse. Stay within the stroller manufacturer’s child, cargo-basket, and total-load limits.
Warning: Never exceed the lowest maximum permitted by the tire, tube, rim, wheel, or stroller manufacturer. Stop inflating immediately if the tire bead lifts, the wheel changes shape, or the tube begins pushing outside the tire.
Tips for Regular Tire Pressure Maintenance
A monthly gauge check is a useful baseline for a stroller used casually, but your manual may require a different schedule. Check more often when the stroller is used daily, stored for long periods, exposed to temperature changes, or used for running.
Always inspect the tires before jogging, long walks, travel, or uneven terrain. A quick visual check can reveal a soft tire, lodged object, damaged valve, or unseated bead before the stroller carries your child.
Manufacturer maintenance requirements extend beyond inflation. The current Thule Urban Glide 3 instructions, for example, call for regular stroller inspections and recommend yearly wheel inspection and servicing. Follow the schedule for your own model.
Monthly Pressure Checks
- Measure every pneumatic tire with the same gauge.
- Compare the reading with the manual or approved wheel label.
- Inspect the tread, sidewalls, tire bead, valve stem, and rim.
- Confirm that each wheel is fully attached and rotates freely.
- Record recurring pressure loss so you can identify a slow leak.
- Recheck after installing a new tube, tire, or replacement wheel.
Do not rely on squeezing the tire alone. Touch can reveal a badly flat tire, but it cannot confirm an accurate PSI or Bar reading.
Proper Inflation Techniques
Inflate with the stroller empty, the brake engaged, and the wheel positioned so the valve is easy to reach. Remove the wheel only when the manual permits it and you understand the attachment system.
Add air slowly with a compatible gauge pump. Keep the connector aligned with the valve so you do not tear the tube around the stem. After inflation, reinstall any removed wheel exactly as directed and test its retention before use.
The tire should look evenly seated around the rim. A molded reference line near the bead can help you see whether one section sits higher or lower than the rest.
Note: Repeated pressure loss is a repair issue, not a normal reason to keep adding air. Inspect the valve, tube, tire, bead, and rim before the next outing.
Importance of Evenly Pumped Wheels
Matching tires on the same axle usually need matching pressure unless the stroller manufacturer states otherwise. A low tire on one side can alter the stroller’s height and increase steering effort.
- The stroller may lean or pull toward the softer tire.
- Turning may feel heavier in one direction.
- The low tire may wear faster around its edges or sidewall.
- The child may feel more vibration or side-to-side movement.
- Wheel-alignment problems can be harder to diagnose accurately.
If the stroller still veers after the pressures are correct, inspect wheel attachment, axle cleanliness, bearings, front-wheel tracking, and frame condition according to the manual.
Best Practices for Pumping Pram Tires
Use controlled inflation rather than trying to make every tire feel as hard as possible. The following habits reduce mistakes:
- Keep the child out of the stroller during wheel maintenance.
- Use the manual’s pressure specification for the installed tire and wheel.
- Keep the pump head straight to protect the valve stem.
- Pause frequently because small tires fill quickly.
- Check the final pressure after disconnecting the pump.
- Replace the valve cap to keep dirt away from the valve.
- Spin the wheel and inspect the bead before loading the stroller.
- Test the brake and wheel attachment after reinstalling a removed wheel.
If the valve is difficult to access, use an approved angled connector or remove the wheel as directed by the manufacturer. Do not bend the valve stem sideways to make the pump fit.
Risks of Using Air Compressors for Inflation
High-flow compressors can add too much air before you have time to read the gauge. Small stroller tires hold far less air than vehicle tires, so a long burst can overshoot the safe limit quickly.
- Rapid inflation can exceed the tire or wheel limit.
- An inaccurate compressor gauge may hide overinflation.
- A poorly fitted air chuck can damage or bend the valve.
- The tire bead may shift if air enters too quickly.
- An unattended inflator can continue adding pressure after a problem develops.
A hand pump or floor pump with a low-range gauge usually gives better control. If a compressor is your only option, use a regulated outlet, the lowest practical flow, and very short bursts. Check with a separate gauge after every burst and never leave the tire unattended.
Signs Your Tires Need Attention
Pressure is only one part of stroller wheel safety. Stop and inspect the stroller when you notice visible damage, repeated pressure loss, poor handling, or a new sound.
Visible Tire Damage
Rotate each wheel slowly and inspect the entire tread, both sidewalls, the bead, valve area, and rim.
- Deep cracks, cuts, or splits in the sidewall
- A bulge, blister, or distorted section
- Fabric, cord, or tube visible through the tire
- A sharp object lodged in the tread
- A bead lifting away from the rim
- A bent, torn, cracked, or leaking valve stem
- A cracked, bent, or badly corroded wheel
- Uneven wear or a bald section that reduces grip
Do not patch a bulging or structurally damaged tire. Replace it with a manufacturer-approved part before carrying your child.
Decreased Maneuverability
A stroller that suddenly requires more effort may have low pressure, unequal pressures, a dragging brake, dirty axle, damaged bearing, or misaligned wheel.
Check the pneumatic tires first because pressure is quick to measure. If the readings are correct, continue with the wheel, brake, and frame checks described in the stroller manual.
Do not compensate for pulling by overinflating one side. Unequal inflation can hide the original problem and create a new handling issue.
Unusual Noise While Rolling
- Squeaking: May come from debris, a dry moving part, tire rubbing, or a soft tire flexing excessively.
- Thumping: Can indicate a flat spot, damaged tire, unseated bead, or object in the tread.
- Clicking: May point to a loose fastener, spoke, wheel attachment, or object striking the frame.
- Scraping: Can result from mud, stones, brake contact, or a wheel rubbing against another component.
Stop using the stroller if a sound is accompanied by wobbling, a loose wheel, a damaged axle, brake failure, or visible tire distortion.
Troubleshooting Common Tire Pressure Problems
The Tire Loses Air Overnight
Inflate the tire to its approved pressure and check it again after several hours. Inspect the tread for punctures and listen near the valve. Soapy water can help reveal escaping air through bubbles, but keep the solution away from brake surfaces and clean the wheel afterward.
A repairable puncture in the tube may accept a properly installed patch. Replace the tube when the valve base is torn, the damage is large, several patches are present, or the tube is stretched, brittle, or incorrectly sized.
Air Leaks From the Valve
Confirm that the pump head is not causing the leak. A loose or damaged valve core may require service, while a split around the valve base usually requires a new tube. Do not pull, twist, or bend the valve to stop a leak.
The Tire Will Not Inflate
Check that the pump is configured for the correct valve type. Confirm that the connector opens the valve and that the tube is not completely torn. If air enters but immediately escapes around the tire edge, the tube or bead may be incorrectly installed.
The Tube Bulges Outside the Tire
Stop pumping immediately. Release the pressure, remove the wheel if the manual allows, and reseat the tube fully inside the tire. A trapped tube can burst when inflated and may damage the tire or wheel.
The Tire Goes Flat After a Curb or Pothole
A sudden impact can pinch the tube between the tire and rim. Inspect both sides of the tube, the rim edge, rim strip, tire bead, and sidewall. Replace any damaged component before reinstalling the wheel.
When to Repair or Replace Stroller Tires
A small tread puncture may only require a tube patch or replacement tube when the outer tire remains sound. More serious damage requires replacement rather than repeated inflation.
| Condition | Likely Action |
|---|---|
| Small repairable tube puncture with an undamaged tire | Patch correctly or install an approved replacement tube. |
| Torn valve base or repeatedly leaking tube | Replace the tube. |
| Bulge, exposed casing, deep sidewall crack, or damaged bead | Replace the tire and inspect the tube and rim. |
| Bent, cracked, or distorted rim or wheel | Stop using the stroller and obtain an approved wheel or professional service. |
| Unknown replacement compatibility | Confirm the tire size, valve, pressure limits, and approval with the manufacturer. |
Avoid liquid sealants unless the stroller, wheel, tire, and tube manufacturers approve them. Some sealants can clog valves, hide damage, or create repair problems.
Resources for Pram Tire Maintenance
Keep the stroller manual, model number, tire size, and replacement-part information together. These details help when ordering tubes, tires, wheels, valves, or axle components.
Register the stroller when the manufacturer offers product registration. Registration can make it easier to receive safety notices or recall information.
Check the U.S. Consumer Product Safety Commission recall database when buying a used stroller, replacing major parts, or investigating an unexplained safety problem.
A bicycle shop may be able to patch or replace a conventional tube, but stroller-specific wheel attachment, brake, frame, and alignment work should follow the stroller manufacturer’s instructions. Use approved replacement parts whenever safety, fit, or load capacity could be affected.
Frequently Asked Questions
How often should I check my stroller tire pressure?
Follow the interval in your stroller manual. A monthly gauge check is a practical baseline for casual use, but check before jogging, long outings, travel, rough terrain, or use after storage. Inspect more often when a tire has recently been repaired or has shown signs of a slow leak.
Can I use a regular bicycle pump for stroller tires?
Yes, when the pump head fits the valve and the gauge accurately covers the required pressure. Use the correct Schrader, Presta, or compatible setting. Attach the connector straight and add air slowly because small stroller tires fill quickly.
What is the ideal PSI for my stroller tires?
No single PSI is ideal for every stroller. Use the target or range in your stroller manual or on its wheel label, then confirm that it stays within the tire, tube, and rim limits. A sidewall number marked “maximum” is a ceiling rather than automatically the recommended target.
Do different terrains require different tire pressures?
Only adjust pressure for terrain when the stroller or tire manufacturer provides an approved operating range. Stay inside that range and account for the stroller’s load. Do not exceed the maximum or lower the pressure until the tire folds, bottoms against the rim, or becomes unstable.
Do stroller brands recommend different pressure levels?
Yes. Pressure depends on the stroller model, wheel, tire size, tube, and approved replacement parts. Check the manual for your exact model rather than copying a number from another stroller, review, or online discussion.
Why does my stroller tire keep going flat?
Common causes include a tread puncture, pinched tube, leaking valve core, torn valve base, damaged tire bead, sharp debris inside the tire, or an unsuitable replacement tube. Find and repair the cause before continuing to inflate the tire.
Should stroller tires feel hard or slightly soft?
A correctly inflated pneumatic tire usually feels firm with some resilience, but touch is not an accurate measurement. Confirm the pressure with a gauge. A tire should not look crushed under normal load or feel excessively rigid because it has been inflated to an unnecessary maximum.
What should I do if the manual and tire sidewall disagree?
Do not exceed the tire’s marked maximum. Confirm that the tire is the correct manufacturer-approved size and model for the wheel. Contact the stroller manufacturer when the manual appears to require a pressure outside the tire’s permitted range.
Do solid or foam-filled stroller tires need air?
No. Solid and foam-filled wheels are not inflated. Only pneumatic tires with a functional valve need pressure checks. Do not drill, puncture, or attempt to add air to a solid wheel.
Can I inflate a stroller tire with an air compressor?
A controlled, regulated compressor can work with the correct fitting, but a hand or bicycle pump is easier to control. If you use a compressor, select low flow, add air in very short bursts, verify pressure after each burst, and never leave the tire unattended.
Conclusion
Safe pram tire pressure begins with the instructions for your exact stroller, wheel, and tire. Use the manual or wheel label as the primary operating guide, read the full sidewall wording, and never exceed a marked maximum.
Check pneumatic tires with a gauge, inflate them slowly, and investigate repeated air loss instead of continually topping up the tire. Regular pressure checks, wheel inspections, approved replacement parts, and prompt attention to damage help your stroller remain easier to push and safer to control.
Sources
- Thule Urban Glide 3 product information — confirms the use of large air-filled tires on a current all-terrain stroller.
- Thule Urban Glide 3 instructions — supports regular stroller inspection, wheel maintenance, and following model-specific safety instructions.
- U.S. Consumer Product Safety Commission recalls — official resource for checking stroller and child-product recalls.