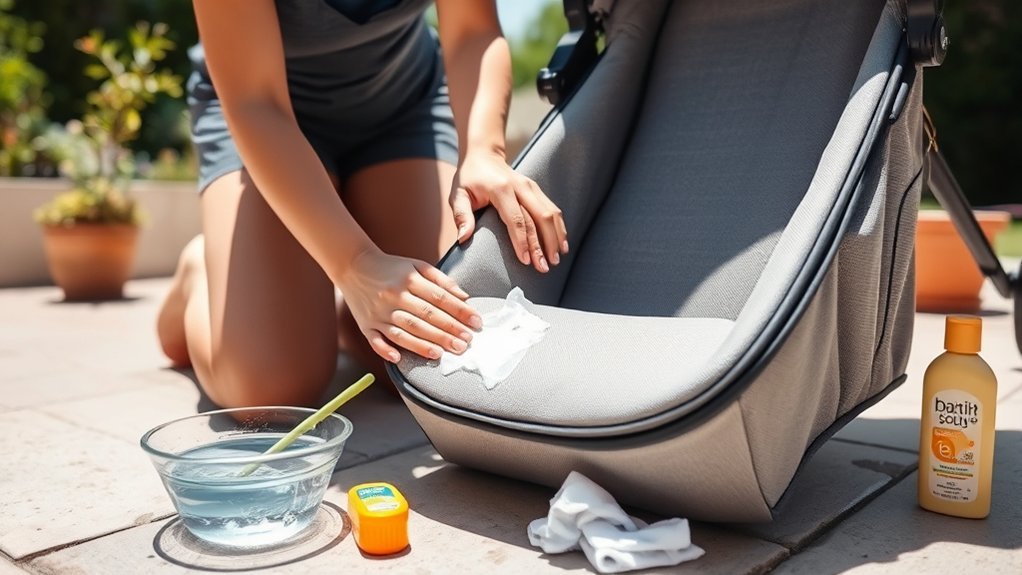
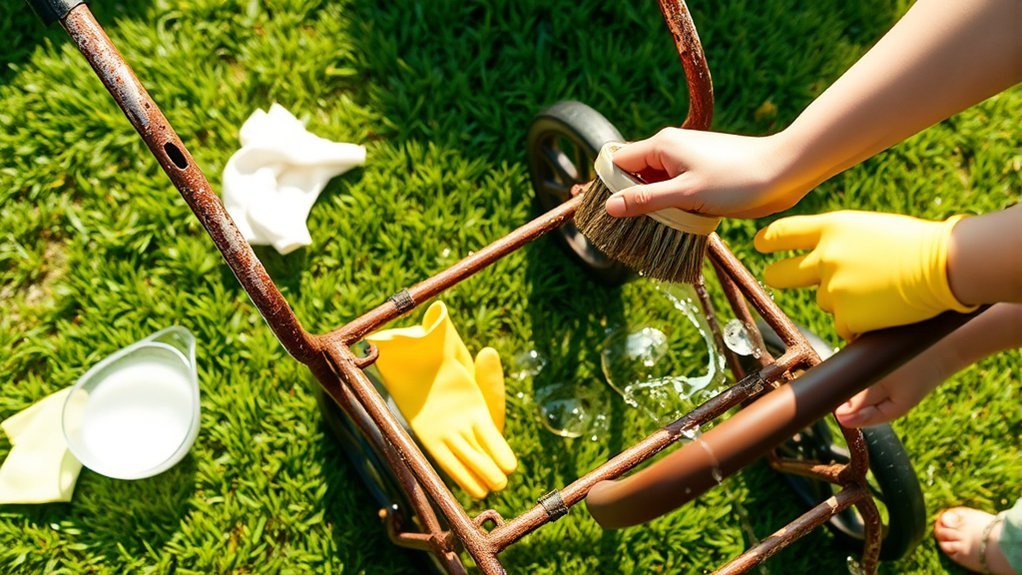
Rust on your stroller may begin as a small orange spot, but it needs prompt attention before moisture reaches more metal. You can usually clean light surface rust at home. However, corrosion around brakes, axles, folding locks, welds, or structural frame parts requires a safety inspection and may require replacement instead of cleaning.
Last updated: July 14, 2026
Quick Answer
To remove light surface rust from a stroller, clean and dry the metal, protect nearby fabric and brake parts, apply a manufacturer-approved rust treatment to a cloth or brush, scrub gently, remove the residue, and dry the area fully. Stop using the stroller if corrosion affects brakes, axles, folding locks, welds, or structural frame parts.
Key Takeaways
- Clean only light surface rust at home. Deep pitting, cracking, flaking metal, or corrosion on safety parts needs professional or manufacturer guidance.
- Check the stroller manual before using a lubricant, rust remover, vinegar, abrasive, primer, or touch-up paint.
- Keep oily products and rust chemicals away from brakes, tires, fabric, foam, plastic, harnesses, and child-contact surfaces.
- Dry every joint, screw head, axle area, and frame opening because trapped moisture can restart corrosion.
- Test the brakes, wheels, folding locks, and frame without a child in the stroller before returning it to use.
At a Glance
| Time Required | About 20–45 minutes for light surface rust, plus drying time |
| Difficulty | Easy for cosmetic surface rust; professional help may be needed for safety-critical parts |
| Tools Needed | Microfiber cloths, soft brush, masking material, gloves, eye protection, clean water, and an approved rust treatment |
| Cost | Low for basic cleaning supplies; replacement hardware or professional service costs more |
Understanding the Causes of Rust on Strollers
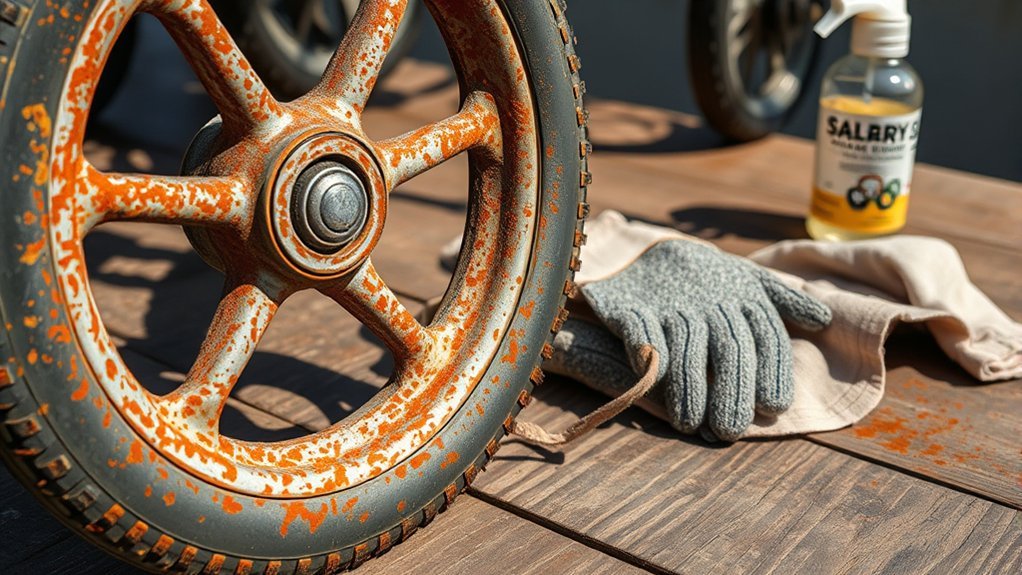
Rust forms when iron or steel is exposed to oxygen and moisture. Rain, wet sidewalks, spills, snow, humid storage, and water left after washing can reach screws, hinges, axles, frame joints, and areas where paint has chipped.
Salt can speed up corrosion. A stroller used near the ocean, on salted winter roads, or around salty slush should be wiped or rinsed as the manual permits and dried promptly.
Small orange or brown marks may be cosmetic surface rust. Thick scaling, deep pits, swollen joints, cracked paint around a weld, or missing metal can indicate more serious corrosion.
Decide Whether the Stroller Is Safe to Clean
Inspect the stroller before applying any cleaner. Remove the child, empty the storage basket, engage the parking brake, and place the stroller on a stable surface where it cannot roll or fold unexpectedly.
Light Surface Rust You Can Usually Clean
- Small orange or brown spots on exposed, nonstructural metal
- Light discoloration without deep pits or flaking metal
- Rust on a removable screw or washer that remains solid and correctly shaped
- A cosmetic spot that does not affect movement, locking, braking, or frame alignment
When to Stop Using the Stroller
Stop using the stroller until the manufacturer or a qualified repair provider evaluates it if you find corrosion on a brake mechanism, axle, wheel attachment, folding lock, latch, weld, seat-support connection, or load-bearing frame tube.
Also stop if a part feels loose, bends unexpectedly, sticks, cracks, flakes apart, has deep pits, or no longer locks into position. Cleaning cannot restore metal that has already lost structural material.
Warning: Never apply oil, penetrating spray, rust remover, paint, or protective coating to brake pads, brake discs, tire tread, wheel-grip surfaces, harness webbing, or any part that depends on friction. Contamination can reduce braking or grip.
Before repairing an older or secondhand stroller, search the CPSC recall database by brand and model. Follow the recall remedy instead of making an unapproved repair if the stroller is affected.
What You’ll Need Before You Clean Rust
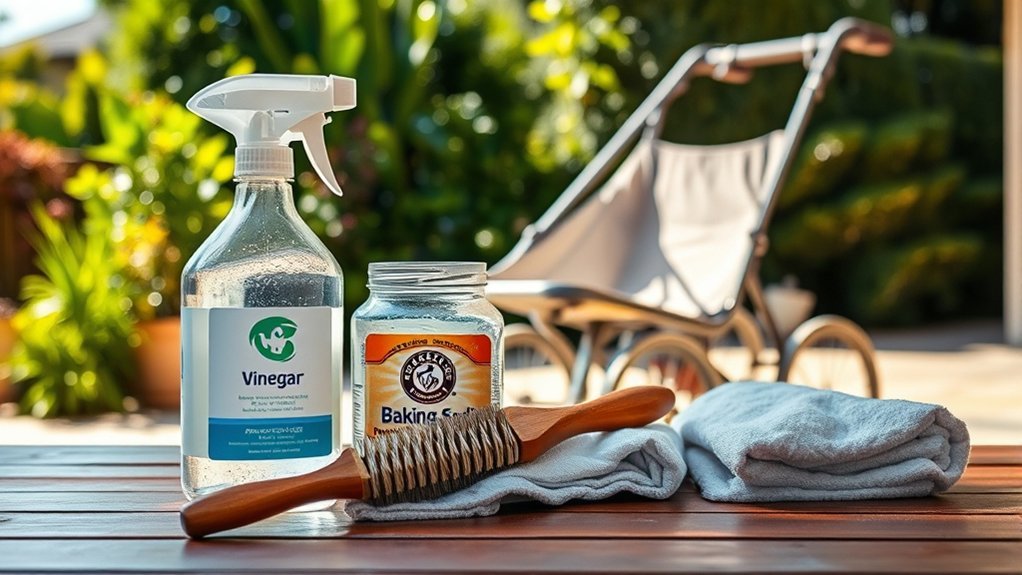
Read the stroller manual and the cleaner label before you begin. Work outdoors or in a well-ventilated area, and keep children and pets away until the stroller is clean, dry, odor-free, and fully reassembled.
- Microfiber cloths or a non-scratch microfiber sponge
- Soft-bristle brush or old toothbrush
- Mild dish soap and clean water for initial cleaning
- A manufacturer-approved penetrating product or mild metal rust remover
- Plastic sheeting, towels, or painter’s tape to shield nearby materials
- Small screwdriver or wrench for manufacturer-approved removable hardware
- Chemical-resistant gloves recommended on the product label
- Safety goggles
- Dry towels and cotton swabs for joints and screw heads
- Manufacturer-approved protective coating or touch-up product, if allowed
Note: A product that is safe for bare steel may not be safe for painted aluminum, plated hardware, plastic, rubber, foam, leather, or stroller fabric. Test it on a hidden area and stop if the finish softens, discolors, becomes sticky, or transfers to the cloth.
Essential Cleaning Agents
Begin with mild soap and water to remove dirt, salt, and oily grime. Surface contamination can hide the true size of the rust spot and interfere with treatment.
A penetrating or water-displacing product such as WD-40 Multi-Use Product may help loosen light corrosion on compatible exposed metal. Use it only when the stroller manual and product label permit it. Apply a small amount to a cloth or brush instead of spraying across the assembled stroller.
Review the cleaner’s label and the manufacturer’s safety data sheet for ventilation, protective equipment, first aid, storage, and disposal instructions.
For stubborn spots, choose a rust remover labeled for the exact metal and finish. Avoid strong acids, converters, or industrial products on thin stroller tubing unless the stroller manufacturer approves them.
Tools for Effective Scrubbing
Use the least abrasive tool that works. A microfiber cloth, non-scratch sponge, nylon brush, or old toothbrush is suitable for many light spots.
Do not begin with steel wool, a wire brush, or coarse sandpaper. These tools can remove paint, plating, or corrosion-resistant coatings and expose fresh metal.
Very fine sandpaper may be suitable for an approved cosmetic repair on bare, nonstructural metal. Do not sand welds, frame tubes, brake parts, axles, locking surfaces, or any area where material loss may affect strength.
Protective Gear Recommendations
Wear gloves and safety goggles when handling rust treatments. Avoid breathing spray mist by applying the product to a cloth or brush and working in strong ventilation.
Do not rely on a basic face covering as protection from chemical vapor. If a product label or safety data sheet requires respiratory protection, use only the specified equipment or choose a safer product that does not require it.
Step-by-Step Guide to Cleaning Rust Spots
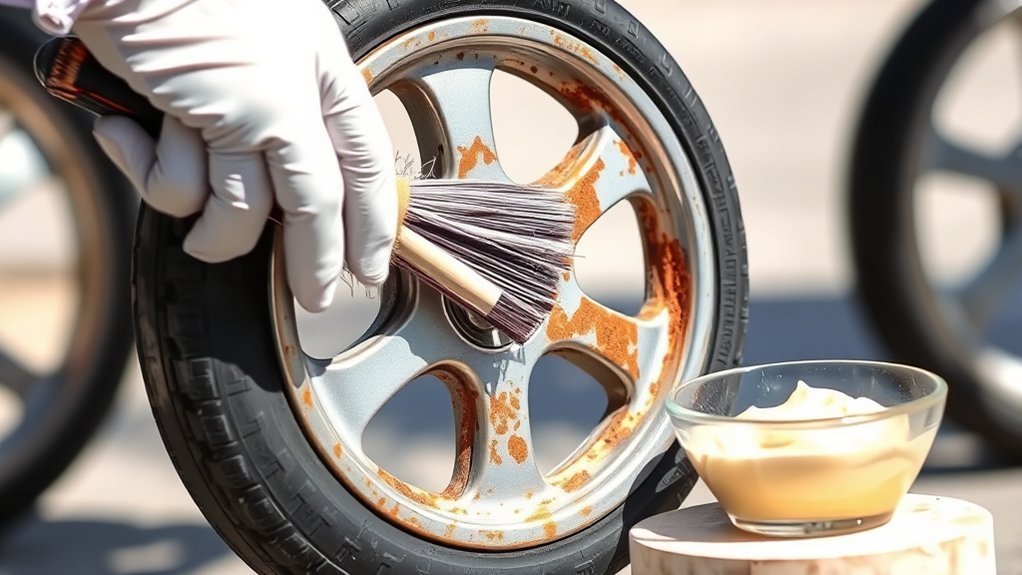
Light surface-rust removal often takes about 20 to 45 minutes of hands-on work. Repeated treatment, drying, approved touch-up coating, or replacement-part installation may take longer.
- Identify the stroller and check its manual. Confirm the brand, model, and serial information. Review cleaning, lubrication, disassembly, and replacement-part restrictions.
- Check for recalls and structural damage. Do not continue with a cosmetic repair if corrosion affects a safety-critical component or the stroller is subject to a recall remedy.
- Photograph and inspect the rust. Check screws, hinges, axles, folding joints, welds, and exposed frame areas. Photos help you compare the area later and reassemble approved removable parts correctly.
- Protect nearby materials. Cover fabric, foam, plastic, rubber, tires, and brake components with towels or plastic sheeting. Do not allow treatment to run into enclosed joints.
- Remove loose dirt and salt. Clean the area with a damp cloth and mild soap. Wipe away soap residue and dry the metal before applying rust treatment.
- Apply the treatment precisely. Put a small amount on a cloth, cotton swab, or brush. Follow the label’s contact time and do not leave it on longer than directed.
- Scrub gently. Work only on the rusty metal with a soft brush or non-scratch sponge. Stop if paint, plating, or another coating begins to lift.
- Remove all residue. Wipe the area with clean cloths. Rinse only when the product label and stroller manual require and permit rinsing.
- Dry hidden areas. Dry screw heads, seams, joints, and frame openings with a towel or cotton swab. Leave the stroller open in a ventilated place until fully dry.
- Protect the exposed metal if approved. Apply only the manufacturer-recommended coating, lubricant, primer, or touch-up product. Wipe away excess and keep it off friction and child-contact surfaces.
- Reassemble and test the stroller. Install only correct model-specific hardware. Test the wheels, brakes, locks, fold, unfold, steering, and frame stability without a child in the stroller.
Pro Tip: Place approved removable screws, washers, and clips in labeled containers and photograph each location before disassembly. Never substitute a similar-looking hardware-store fastener unless the stroller manufacturer confirms its size, grade, and suitability.
Post-Cleaning Safety Check
Do not place a child in the stroller immediately after cleaning. Complete the following checks on a level surface first:
- Brakes: Confirm that each brake engages and releases normally without slipping.
- Wheels: Spin and gently pull each wheel to check for binding, wobble, looseness, or unusual noise.
- Folding locks: Fold and unfold the stroller, then confirm every latch locks fully.
- Fasteners: Check that approved screws, nuts, clips, and washers are present and secure.
- Frame: Look for cracks, spreading paint lines, bends, looseness, or movement around welds and joints.
- Cleanliness: Confirm that no oily film, chemical residue, strong odor, or loose rust remains.
If the stroller fails any test, stop using it and contact the manufacturer or an authorized repair provider.
How to Handle Stubborn Rust
Some light rust needs a second treatment. Repeat the product-label process rather than increasing the contact time or switching immediately to a stronger chemical.
If the spot remains after gentle cleaning, inspect it under bright light. Deep pits, bubbling under paint, recurring orange moisture, or metal that flakes under light pressure can indicate active corrosion beneath the surface.
Replace rusty removable hardware only with manufacturer-approved parts. A screw’s diameter, thread, length, head shape, material, and strength grade can affect stroller safety.
Do not use filler, rust converter, heavy primer, or paint to conceal damage on a weld, axle, frame joint, folding mechanism, or brake assembly. These products may hide deterioration without restoring strength.
Using Vinegar, Commercial Rust Removers, and Touch-Up Paint
Using White Vinegar
White vinegar can loosen rust on some bare-steel parts, but its acid can dull finishes or affect nearby materials. Use it only on removable, nonstructural bare-metal hardware when the stroller manufacturer permits it.
Apply a small amount, monitor the surface, remove all residue, and dry the part completely. Do not soak an assembled stroller frame or let vinegar enter joints, brakes, fabric, or tubing.
Commercial Rust Removers
Choose a product labeled for the exact metal and coating. Follow its instructions for dwell time, rinsing, neutralization, protective equipment, and disposal.
Do not mix rust remover with bleach, ammonia, another cleaner, or a different rust product. Chemical mixtures can damage the stroller or create dangerous fumes.
Primer and Touch-Up Paint
Touch-up coating may protect a small cosmetic area after all rust has been removed. Use only a manufacturer-approved product or a coating confirmed compatible with the frame material and original finish.
Do not paint moving surfaces, locking faces, screw threads, brake parts, axle contact areas, model labels, warning labels, or serial-number labels. Paint must never be used to hide a crack or structural defect.
Long-Term Solutions for Preventing Rust
You can lower the risk of new rust by removing moisture, dirt, and salt before storage. After rain or snow, wipe the frame, wheels, screws, under-seat areas, and folding joints.
After a beach trip or exposure to road salt, follow the manual’s cleaning instructions promptly. Salt left in joints or around fasteners can hold moisture against the metal.
Store the stroller indoors in a dry, ventilated space. Avoid leaving it wet in a closed car trunk, damp garage, outdoor shed, balcony, or under a cover that traps condensation.
Regular Maintenance Tips
Inspect the stroller about once a month during regular use and after unusually wet, salty, or muddy outings. Check more often if you live near the coast or store the stroller in a humid area.
- Wipe moisture quickly: Dry the stroller after rain, snow, spills, or washing.
- Remove grit and salt: Clean residue from wheel mounts, screws, hinges, and lower frame areas.
- Repair chipped finish early: Ask the manufacturer which touch-up product is compatible.
- Use approved lubrication only: Apply it only to locations listed in the stroller manual.
- Keep drainage paths open: Do not block frame openings or channels designed to release water.
Commercial Rust-Prevention Products
A corrosion inhibitor or protective coating may help on approved exposed metal, but it is not suitable for every stroller material. Confirm compatibility with the stroller manufacturer and product label.
Apply a minimal amount to the target metal with a cloth or swab. Avoid overspray and remove any product that reaches tires, brakes, grips, fabric, harnesses, or surfaces a child can touch.
Disassembly for Cleaning
Disassembly can improve access to removable screws, washers, and wheel hardware, but it can also affect alignment or safe operation. Remove only parts identified as user-removable in the manual.
- Check the manual. Confirm the permitted disassembly procedure and required tools.
- Photograph each part. Record the direction and order of screws, spacers, clips, and washers.
- Group the hardware. Keep parts separated by their original location.
- Clean and dry each approved part. Treat only compatible metal and remove all residue.
- Replace damaged hardware. Obtain the exact approved part from the manufacturer or authorized supplier.
- Reassemble and test. Follow the specified tightening method and complete the full safety check.
Common Mistakes to Avoid
- Soaking the assembled frame: Water can enter tubing, joints, bearings, and hidden hardware.
- Spraying chemicals broadly: Overspray can reach fabric, plastic, tires, or brake surfaces.
- Using aggressive abrasives first: Wire brushes and coarse sandpaper can remove protective finishes.
- Leaving treatment on too long: Longer contact can damage paint, plating, or nearby materials.
- Mixing cleaners: Different products may react or create unsafe fumes.
- Painting over active rust: Corrosion can continue under the new coating.
- Reusing deeply corroded hardware: Cleaning does not replace lost metal or strength.
- Ignoring locks, brakes, axles, or welds: Corrosion on these parts can affect safe operation.
- Testing with a child in the seat: Complete every function test with the stroller empty.
Tips for Maintaining Your Stroller After Cleaning
Inspect the cleaned area after several outings. Look for fresh orange color, bubbling paint, oily residue, loose coating, or renewed stiffness in a joint.
If rust returns quickly, moisture may be trapped inside the part, the original protective coating may be damaged, or chloride residue may remain after salt exposure. Repeated rust in the same area deserves manufacturer review.
Keep a clean microfiber cloth with your stroller supplies so you can wipe rain or spills before storage. Allow wet fabric and the frame to dry with the stroller open in a ventilated area.
Additional Resources for Stroller Care and Maintenance
Your stroller manual should be your first resource for cleaning products, lubrication points, approved disassembly, torque instructions, warranties, and replacement parts.
Use instructional videos only when they come from the stroller manufacturer or show the exact model and approved procedure. A repair for a similar-looking stroller may use different hardware or locking mechanisms.
- Manuals: Confirm material limits, cleaning restrictions, part names, and approved maintenance.
- Recall notices: Check the brand and model before repairing an older or secondhand stroller.
- Manufacturer support: Ask whether the affected component is replaceable and which product is safe for its finish.
- Authorized repair providers: Use professional service for brakes, folding locks, axles, welds, or structural frame concerns.
- Replacement parts: Buy hardware, wheels, brakes, and frame components approved for the exact stroller model.
Frequently Asked Questions
Can I use vinegar instead of WD-40 for stroller rust?
You may use a small amount of white vinegar on some removable bare-steel parts if the stroller manufacturer permits it. Do not soak the frame or apply vinegar to paint, plating, aluminum, fabric, plastic, brakes, or enclosed joints. Remove all residue and dry the part completely.
How often should I check my stroller for rust?
Inspect it about once a month during regular use and after rain, snow, beach trips, road-salt exposure, washing, or damp storage. Check screws, wheel attachments, axles, folding joints, brakes, welds, and areas with chipped paint.
Will rust affect my stroller’s safety?
Light surface rust on a nonstructural area may be cosmetic. Deep pitting, flaking metal, cracks, looseness, binding, or corrosion on brakes, axles, wheel mounts, folding locks, welds, or load-bearing frame parts can affect safety. Stop using the stroller until the manufacturer or a qualified repair provider evaluates it.
Is it safe to use sandpaper on stroller rust?
Very fine sandpaper may be appropriate for an approved cosmetic repair on bare, nonstructural metal. It can remove paint, plating, and protective coatings, so do not use it on structural tubing, welds, brakes, axles, locks, or coated areas unless the stroller manufacturer approves the method.
Can I paint over a rust spot after cleaning it?
You may apply an approved primer or touch-up coating to a clean, dry, cosmetic area when the stroller manufacturer allows it. Do not paint over active rust, deep pits, cracks, weld damage, moving parts, brake components, locking faces, warning labels, or serial-number labels.
Can I keep using the stroller while I wait for a replacement screw?
Do not use the stroller if the missing or corroded fastener supports a wheel, brake, seat, folding lock, frame joint, or another safety-related part. Contact the manufacturer for the correct replacement and follow its instructions before returning the stroller to service.
Conclusion
The safest way to remove rust from a stroller is to treat small cosmetic spots early while protecting the stroller’s finish, brakes, tires, fabric, and child-contact areas. Use gentle tools, follow the stroller manual, and apply any rust treatment precisely rather than spraying it across the assembled frame.
Cleaning is not an acceptable repair for deep pitting, cracks, loose joints, damaged welds, or corrosion on brakes, axles, locks, and structural frame parts. Stop using the stroller when those problems appear, check for recalls, and obtain manufacturer-approved repair guidance or replacement parts.
Sources
- U.S. Consumer Product Safety Commission: Recalls & Product Safety Warnings — current recall searches and safety remedies.
- U.S. Consumer Product Safety Commission: Strollers and Carriages — federal stroller safety guidance and requirements.
- WD-40 Multi-Use Product — official intended uses and product information.
- WD-40 Company Safety Data Sheets — product-specific handling, ventilation, first-aid, storage, and disposal information.