
A stuck stroller brake can make the stroller hard to control or unsafe to park. Keep your child out of the stroller while you inspect it. Start by identifying the exact model, checking for recalls, reading the owner’s manual, and cleaning only the visible brake parts. Stop if you find damage or the brake remains unreliable.
Quick Answer
To fix a stuck stroller brake, remove the child, confirm the model, check for recalls, and follow the owner’s manual. Clear visible dirt around the wheels, brake pins, or pedal, then retest on level ground. Do not adjust cables, add lubricant, or disassemble springs unless the manufacturer’s instructions specifically allow it.
Key Takeaways
- Stop using the stroller with a child until the parking brake locks and releases consistently.
- Find the model, serial number, and manufacture date before choosing a repair method.
- Check the CPSC recall database and the manufacturer’s recall page before attempting a repair.
- Clean visible debris first, but use only cleaners, lubricants, adjustments, and replacement parts approved for your model.
- Contact the manufacturer or a qualified stroller repair service if parts are cracked, bent, frayed, loose, or still unreliable.
At a Glance
| Time Required | Varies by model; allow enough time to inspect, clean, and retest without rushing. |
| Difficulty | Easy for visible inspection and cleaning; model-specific adjustment or internal repair may require professional service. |
| Tools Needed | Owner’s manual, soft brush, clean cloth, good lighting, and only model-approved tools or maintenance products. |
| Cost | Usually no cost for inspection and dry cleaning; replacement parts and professional service vary by model. |
Warning: Do not place a child in a stroller whose brake will not engage, stay engaged, or release reliably. Never test a questionable brake near traffic, stairs, platforms, water, or a meaningful slope.
Understanding Your Stroller Brake System

Stroller brake designs differ. Your model may use one linked rear pedal, separate wheel pedals, a handle-operated cable, or another model-specific mechanism. Some jogging strollers also have a hand brake for slowing down, which may not be the same as the parking brake.
Before touching an adjustment screw or removing a wheel, find the stroller’s model name, item or serial number, and manufacture date. Check the frame label, then locate the correct owner’s manual. Do not rely on instructions for a similar-looking stroller.
Strollers sold in the United States are covered by the federal carriage and stroller safety standard in 16 CFR Part 1227. A brake problem still requires model-specific action because the standard does not turn different brake designs into one universal repair system.
Regular inspection, general cleaning, and prompt attention to unusual resistance or noise can help you spot a developing problem. However, a brake that works only sometimes should be treated as defective until repaired.
Identify the Brake Symptom
| Symptom | Possible Cause | Safe Next Step |
|---|---|---|
| Brake will not release | Debris, a wheel that is not fully seated, an over-tight linkage, or a damaged return part | Clean visible debris, confirm wheel installation, and follow the manual |
| Brake will not engage | Blocked pin, misalignment, loose linkage, worn part, or recall-related defect | Stop use, check recalls, inspect visible parts, and contact the manufacturer if unresolved |
| Only one wheel locks | One pin is stuck, the wheel is misinstalled, or the linked mechanism is uneven | Compare both sides and reseat the wheel only as the manual directs |
| Rattling, clicking, or dragging | Partial engagement, loose hardware, trapped debris, or damaged parts | Stop use and inspect before the next outing |
Initial Troubleshooting Steps
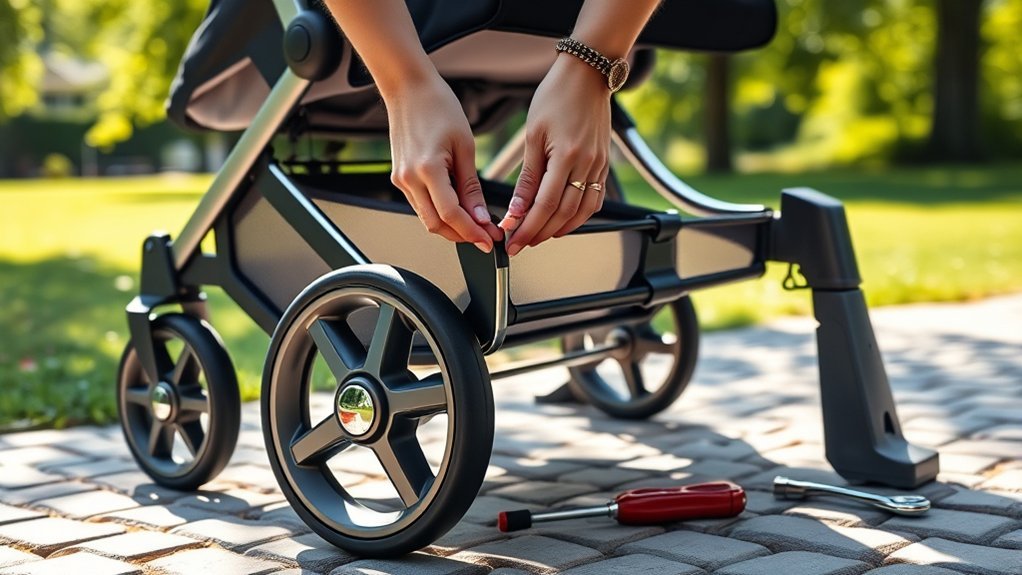
Start with the least invasive checks. Keep the child out, empty the storage basket, and place the stroller on a clean, level surface away from hazards.
- Record the product details. Photograph the model label, serial or item number, and manufacture date.
- Check for recalls. Search the CPSC recall database and the stroller manufacturer’s recall page. If the stroller is recalled, follow the recall remedy instead of improvising a repair.
- Read the correct manual. Confirm how the parking brake, wheels, pins, cable, and adjustment points work on your exact model.
- Inspect without forcing anything. Look for mud, sand, hair, small stones, corrosion, cracked plastic, bent metal, frayed cable, weak springs, or missing hardware.
- Operate the brake gently. Watch both sides while engaging and releasing it. Stop if a pedal, lever, pin, or cable binds or moves unevenly.
- Remove a wheel only when permitted. Follow the manual’s removal and reinstallation steps, including any axle button, retaining clip, or alignment mark.
If the brake remains stuck after visible debris is removed, stop using the stroller until the manufacturer or a qualified repair professional identifies the cause.
Note: A product recall can require a specific repair kit, replacement frame, or other remedy. Cleaning or adjusting the brake is not a substitute for completing an official recall remedy.
Checking the Brake Adjustment Screw
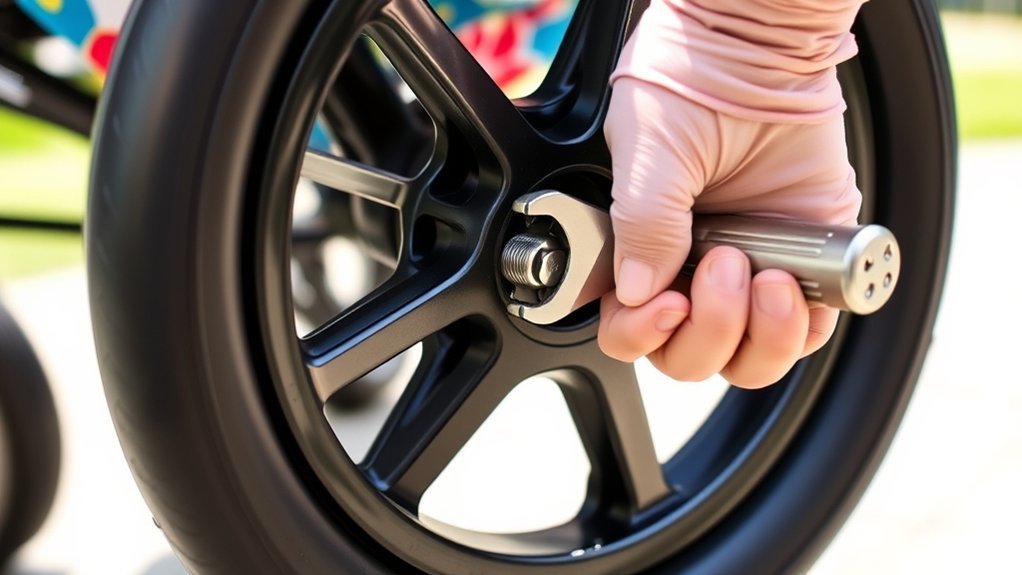
Some cable-operated stroller brakes have an adjustment point, but many strollers do not. The direction and amount of adjustment also vary. Do not assume that shortening or lengthening a screw will have the same effect on every model.
Adjust the screw or cable only when the owner’s manual clearly identifies the part and gives a procedure. Mark or photograph the starting position, make only the increment the manual permits, and test after each change. Stop if the threads bind, the cable twists, or the brake becomes less consistent.
Do not force a seized adjuster. A stripped thread, bent cable end, or damaged housing can turn a simple service issue into a brake failure.
Inspecting Brake Components
Inspect only the parts you can access safely under the owner’s manual. Common visible parts may include a pedal or lever, brake pins, wheel holes or a brake disc, a linkage, a cable housing, springs, and wheel-retention hardware.
Compare the left and right sides. Look for a pin that does not retract, a wheel that sits farther out than the other, a cable housing that has slipped from its stop, or plastic that is cracked or deformed.
Pin Movement Check
When your stroller uses brake pins, they should enter the matching wheel holes or brake disc when the parking brake is engaged and retract when released. The exact movement may be hard to see, so use good lighting and never place your fingers where the mechanism can pinch them.
| Check | What You Want to See | Stop and Get Help If |
|---|---|---|
| Pin movement | Both sides move fully and evenly | A pin stays partly engaged, bends, or misses the opening |
| Wheel seating | The wheel is installed exactly as the manual shows | The wheel has play, will not latch, or lacks a retaining part |
| Pedal or lever | Movement feels firm and repeatable | It slips, sticks, cracks, or changes feel between tests |
Clean Brake Assembly
Use a soft brush or clean cloth to remove loose sand, dried mud, hair, and grit from visible channels. A small amount of water on the cloth may help with surface dirt if the manual permits it. Do not flood the mechanism or direct high-pressure water into cable housings, bearings, or enclosed parts.
Keep oil, grease, cleaner residue, and overspray off tire tread and any surface that depends on friction. If the manufacturer does not name a lubricant for the brake, do not add one.
Cleaning and Lubricating the Brake Mechanism
Cleaning can solve a brake that is blocked by visible debris. Lubrication is different: use it only when the manufacturer’s instructions specify the product and application point for your stroller.
- Set the empty stroller on a level surface and prevent it from rolling.
- Remove the wheel only if the manual allows it.
- Brush away loose grit before using a damp cloth, so you do not push debris deeper into the mechanism.
- Wipe visible pins, channels, pedal joints, and wheel openings without soaking them.
- Dry the area fully.
- If the manual calls for lubricant, apply only the named type and only to the approved point. Wipe away excess immediately.
- Reinstall the wheel exactly as shown in the manual and confirm that its retention system is fully engaged.
- Operate the brake several times with the stroller empty, then complete the flat-surface test below.
Pro Tip: After sandy, muddy, snowy, or wet outings, clean and dry the wheel and brake area before storing the stroller. This reduces buildup without requiring unnecessary disassembly.
Advanced Troubleshooting Techniques
Advanced troubleshooting should mean gathering better evidence, not taking apart safety-critical parts without instructions. Photograph the symptom, record whether it affects one or both wheels, and note whether the problem occurs when engaging, releasing, folding, or reinstalling a wheel.
Check the manual’s troubleshooting section and contact the manufacturer with the model details and photos. Ask whether the brake has a service bulletin, approved adjustment procedure, replacement part, or authorized repair option.
Do not open spring housings, shorten cables, bend pins, drill parts, substitute hardware, or use pliers to force a brake into position. These actions can damage the stroller and may affect warranty coverage.
How to Test the Stroller Brake After Repair
Test the stroller empty on a clean, level surface. Keep one hand on the handle throughout the test.
- Confirm that every removed wheel is fully seated and cannot pull free under a gentle check.
- Release the parking brake and roll the stroller slowly. Each wheel should rotate freely without dragging, grinding, or clicking.
- Stop the stroller completely, then engage the parking brake.
- Gently push and pull the handle. The stroller should remain stationary, and the brake should not release, slip, or rattle.
- Release and engage the brake several times. The feel and result should be consistent on every cycle.
- Inspect both rear wheels again for partial engagement, rubbing, or uneven movement.
Do not test a questionable parking brake by allowing the stroller to roll downhill. Unless the owner’s manual describes a different system, engage a parking brake only after the stroller has stopped.
A stroller brake is ready for use only when it locks, stays locked, and releases the same way every time.
When to Seek Professional Help
Contact the manufacturer or a qualified stroller repair service when basic inspection and manual-approved cleaning do not restore reliable operation. A parking brake is a safety system, so repeated sticking or slipping is not a minor annoyance.
Persistent Brake Issues
Stop using the stroller with a child if you notice any of these problems:
- The brake still malfunctions after visible debris is removed.
- The pedal, handle, or linkage changes feel between tests.
- The stroller rattles, clicks, drags, or releases unexpectedly.
- The brake will not fully engage or disengage.
- A wheel will not seat or latch correctly.
- A cable looks frayed, kinked, stretched, or detached.
- A pin, spring, housing, disc, pedal, or other part looks bent, cracked, worn, or missing.
You can also report a potentially dangerous product or product-related injury through SaferProducts.gov.
Unresolved Adjustment Problems
If a manual-approved adjustment does not improve the brake, return the adjuster to its documented starting position when the manual allows it and contact the manufacturer. Continuing to turn a cable adjuster can prevent full engagement or full release.
| Symptom | Action Needed |
|---|---|
| Rattling or unexpected release | Stop use and request a manufacturer or professional assessment |
| Inconsistent engagement | Check for a recall, service notice, or worn linkage |
| Brake pin does not retract | Do not force it; request model-specific service |
| Ongoing one-wheel drag | Check wheel installation, then seek service if it continues |
Complex Disassembly Required
If the repair requires opening a spring housing, removing an internal cable, replacing structural hardware, or dismantling a linked brake assembly, stop and seek model-specific service. Keep the stroller out of use until the repair is complete and the brake passes every test.
Before authorizing third-party work, check the warranty. For example, Baby Jogger’s warranty information states that improper maintenance, alterations, and some third-party repairs may not be covered. Warranty terms differ by brand and country.
If the stroller cannot be repaired safely, do not donate or resell it as usable equipment. Review safe disposal and stroller donation guidance, and clearly separate defective or recalled gear from items intended for reuse.
Frequently Asked Questions
Can I fix my stroller brake without special tools?
You can often inspect the brake and remove visible debris with a soft brush and cloth. Wheel removal, cable adjustment, lubrication, and part replacement depend on the model. Use only the tools and steps listed in the owner’s manual.
How often should I maintain my stroller brake?
Follow the manufacturer’s inspection schedule and check the brake before use whenever it feels different. Inspect and clean the wheel area sooner after sand, mud, rain, snow, storage, air travel, or any impact.
What materials are best for cleaning the brake mechanism?
Start with a soft brush and clean cloth. Use a damp cloth or maintenance product only when the owner’s manual permits it. Avoid high-pressure water, harsh solvents, and any lubricant not approved for the model.
Are there safety concerns with a stuck stroller brake?
Yes. A brake that fails to engage, releases unexpectedly, or keeps one wheel partly locked can create fall, rolling, and control hazards. Keep the child out until the brake works consistently or the manufacturer completes the required remedy.
Will a stuck brake void my stroller warranty?
The defect itself does not automatically void every warranty. However, unauthorized alterations, improper maintenance, or third-party repairs may affect coverage. Check the brand’s current terms and contact it before replacing or modifying brake parts.
Can I spray oil or a general-purpose lubricant on the brake?
Not unless the stroller manufacturer specifically approves that product and application point. Overspray can attract dirt, affect plastic or rubber, contaminate friction surfaces, and hide a damaged part that needs replacement.
Final Stroller Brake Safety Check
A stroller brake should lock firmly, remain engaged, release fully, and feel consistent each time. Start with the model label, recall check, owner’s manual, visible inspection, and gentle cleaning.
If the brake still sticks, slips, rattles, drags, or works unevenly, do not force it or continue using the stroller with a child. Contact the manufacturer or a qualified repair professional and complete any recall remedy before the stroller returns to service.
Sources
- Electronic Code of Federal Regulations: 16 CFR Part 1227: current U.S. safety standard for carriages and strollers.
- U.S. Consumer Product Safety Commission Recall Database: official recall and product safety warning lookup.
- CPSC: Guava Family Roam Stroller Brake Recall: example of a brake defect requiring an official repair remedy and immediate stop-use action.
- Baby Jogger Product Recall Information: manufacturer recall lookup and product-registration guidance.
- Baby Jogger Warranty Information: manufacturer terms covering maintenance, alterations, and third-party repairs.
- SaferProducts.gov: official portal for reporting unsafe products and product-related injuries.